In Unreal Engine, skeletal animations can be shared between different skeletons through retargeting assets. Morph Target based facial animations can also be reused, but the specific approach depends on the target model.
This article focuses on retargeting ARKit facial animations, but the methods described apply to any Morph Target animation.
Prerequisites
First, we record a facial animation using Dollars MONO and import it into Unreal Engine. For notes on importing Dollars FBX files into Unreal, see this guide.
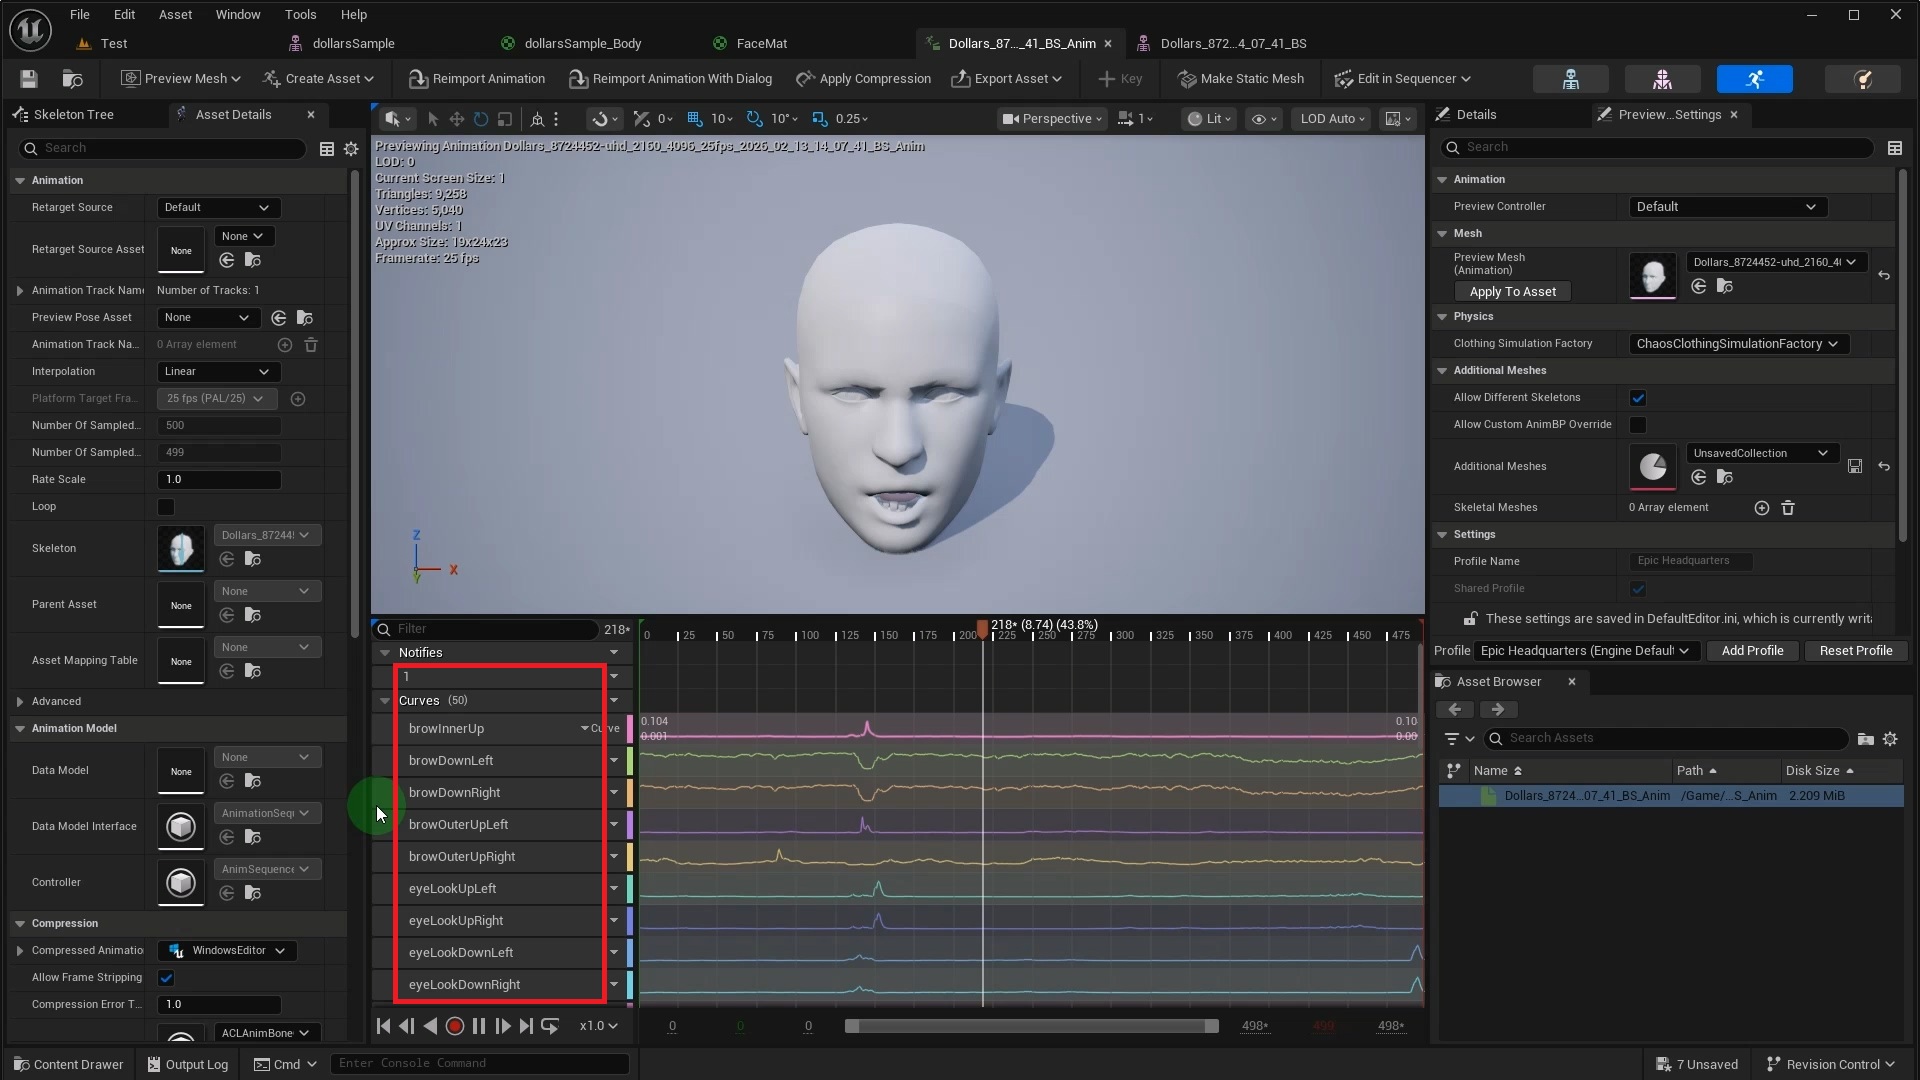
After importing, open the animation asset to see the ARKit standard animation Curve data contained within it.
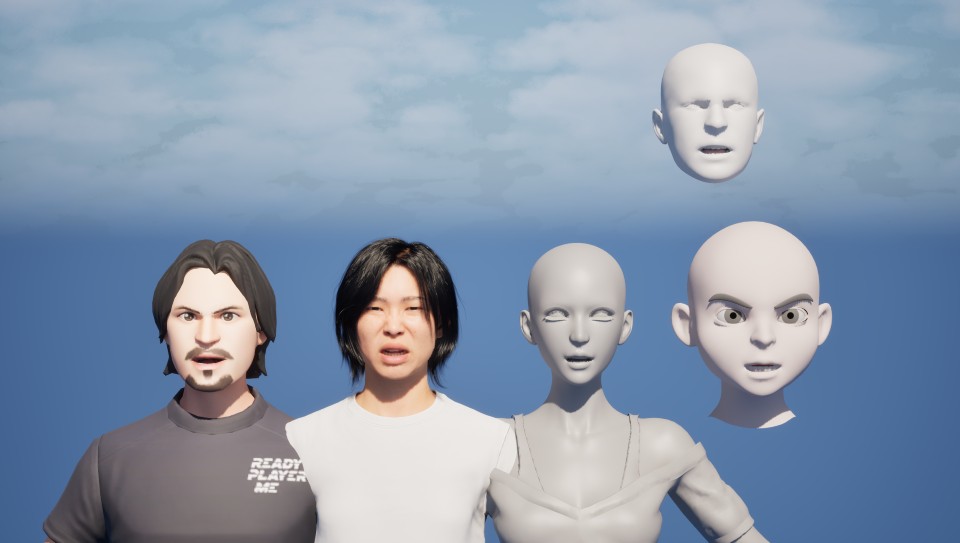
How you apply this animation to a new model depends on its Morph Target setup. We will cover three scenarios below.
1. Matching Morph Targets
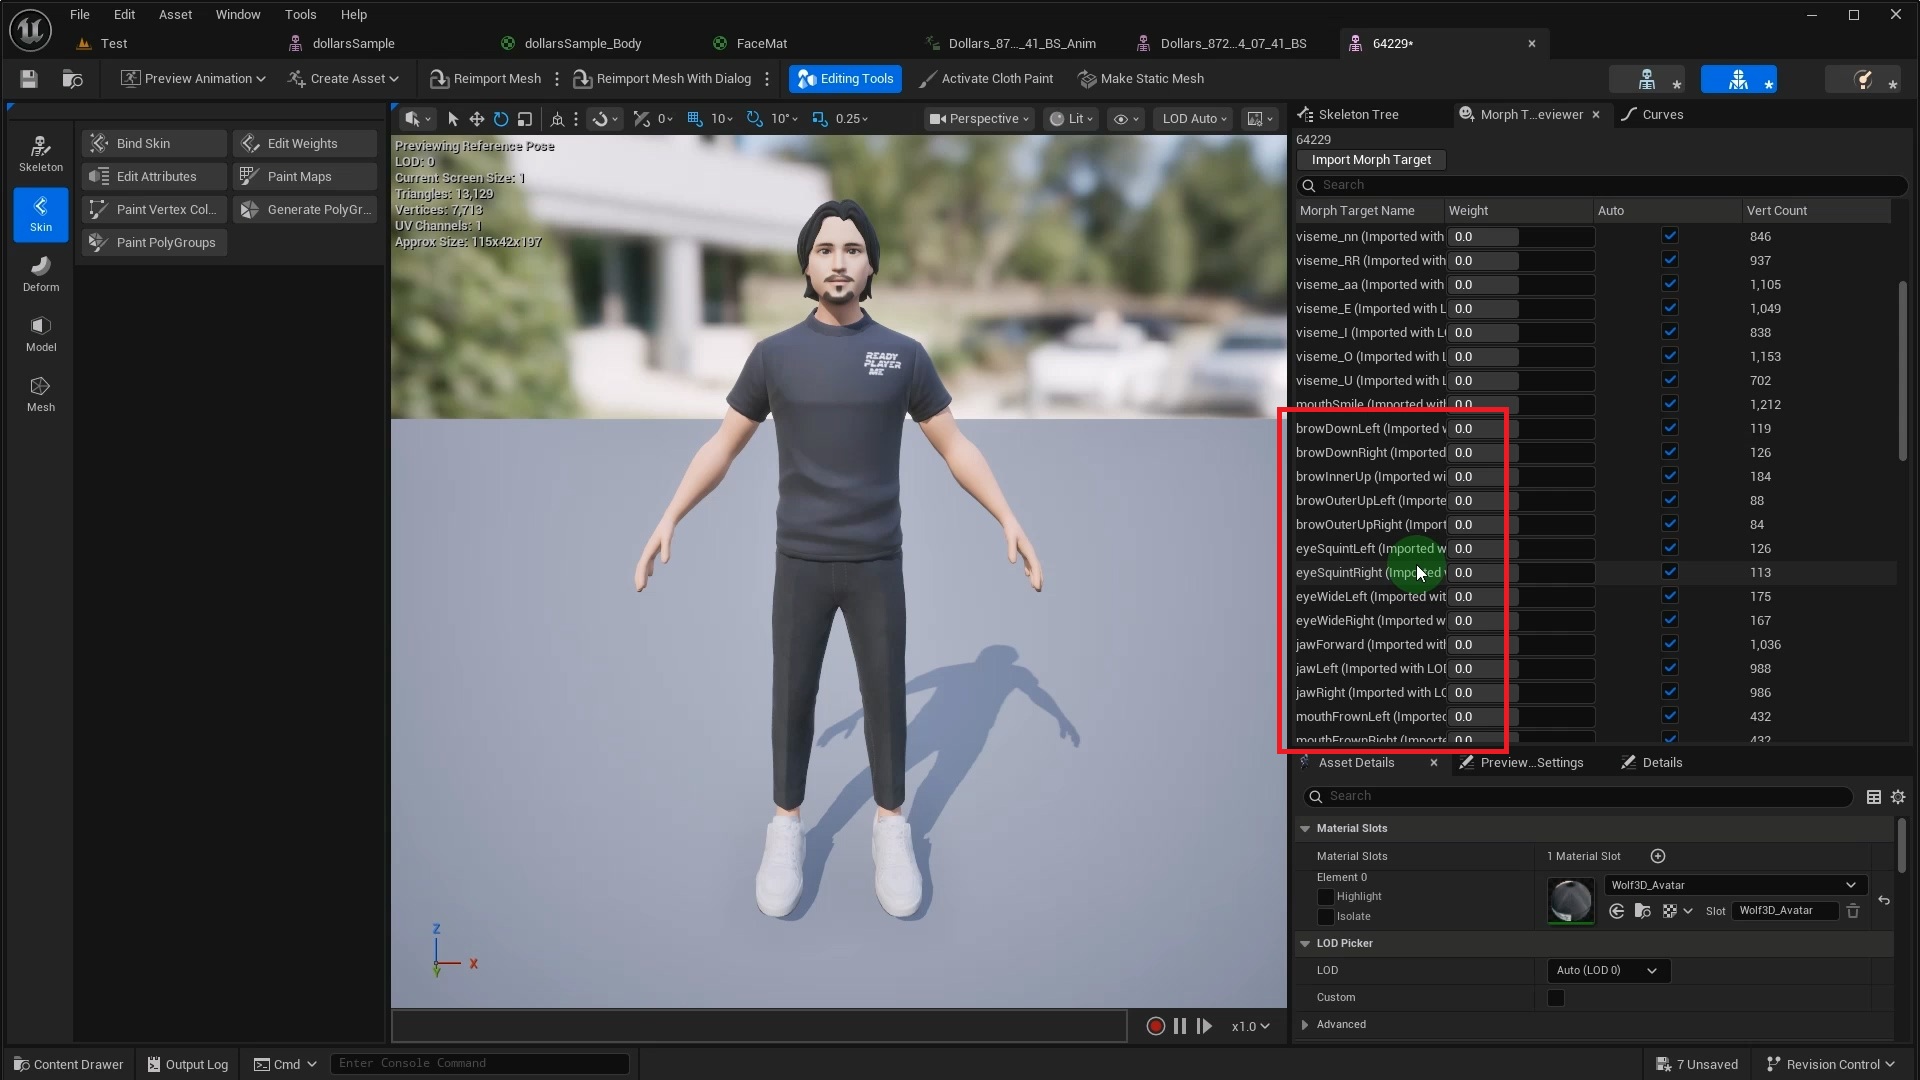
If the target model already has ARKit Morph Targets with matching names, setup is straightforward. This Ready Player Me model, for instance, comes with the full set using Apple's naming convention.
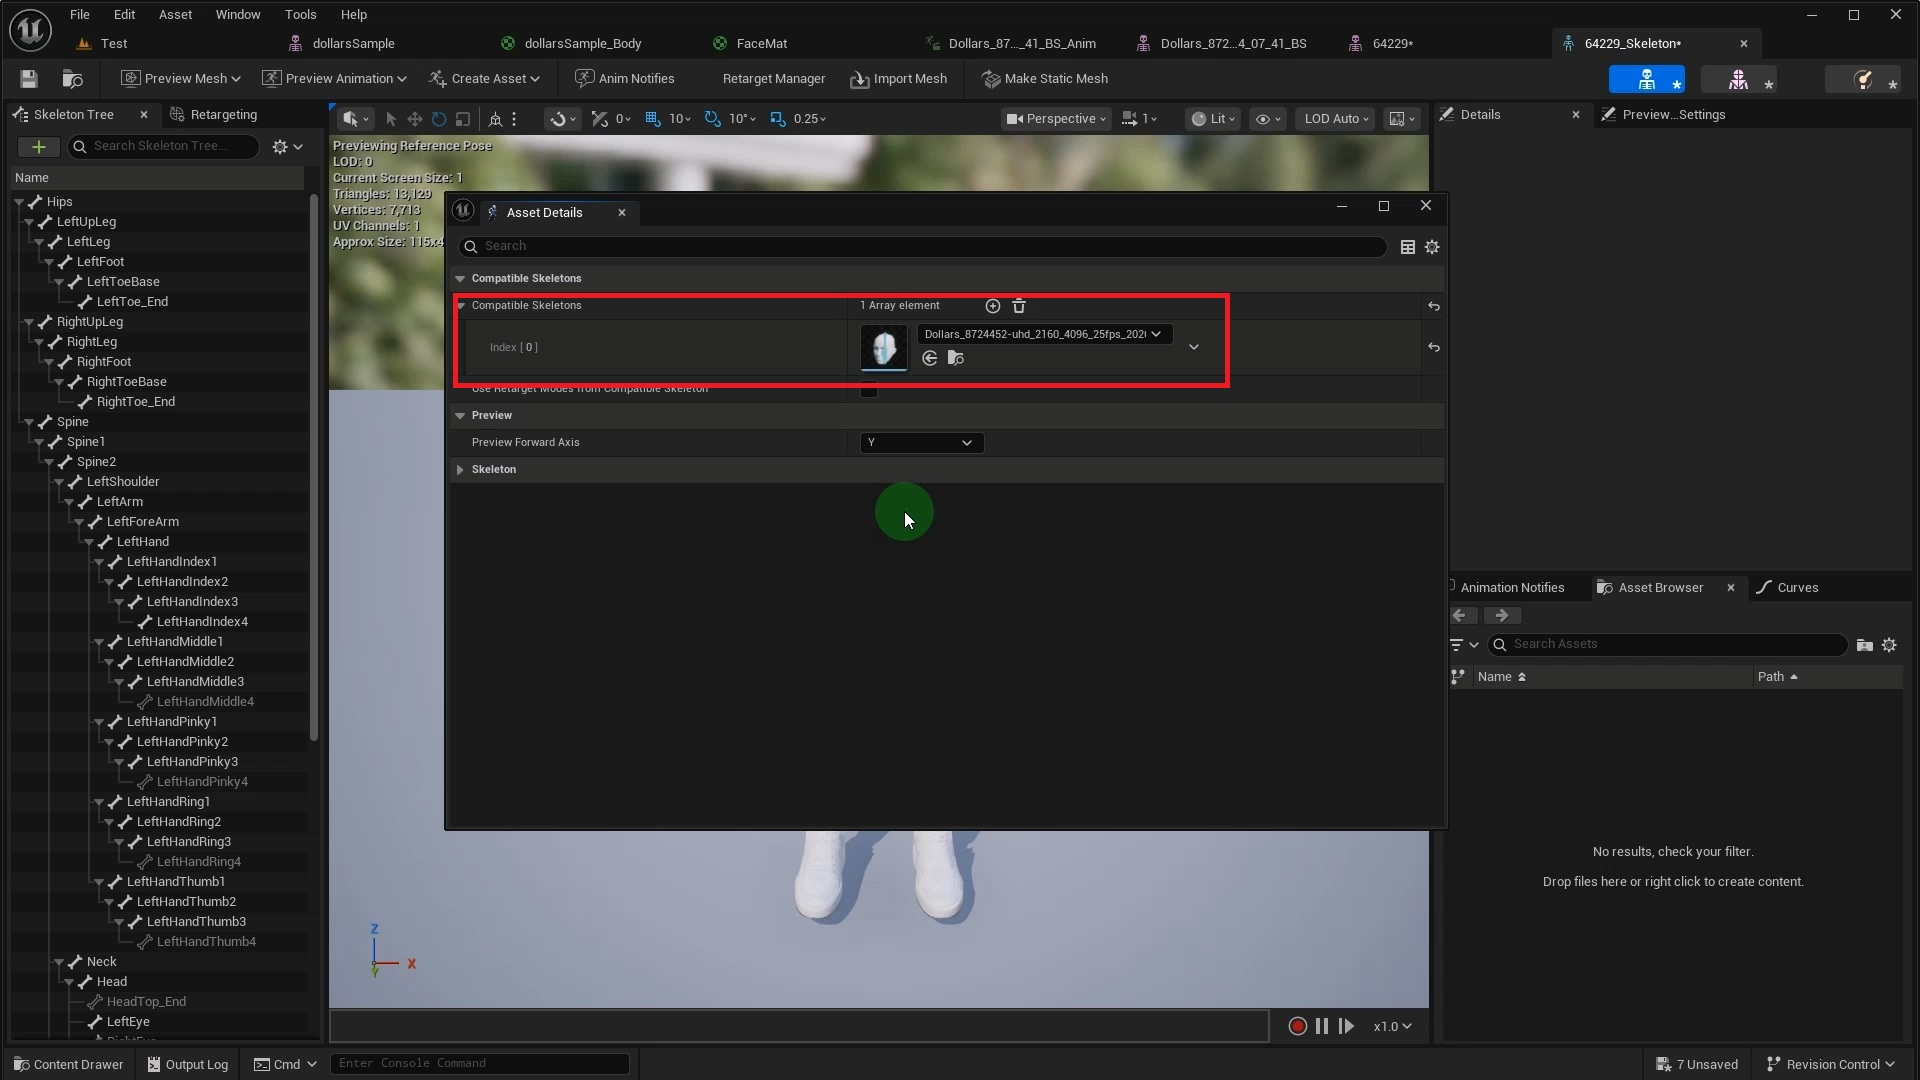
This is the simplest scenario. Just open the target model's Skeleton asset and select Asset Details from the Window menu.
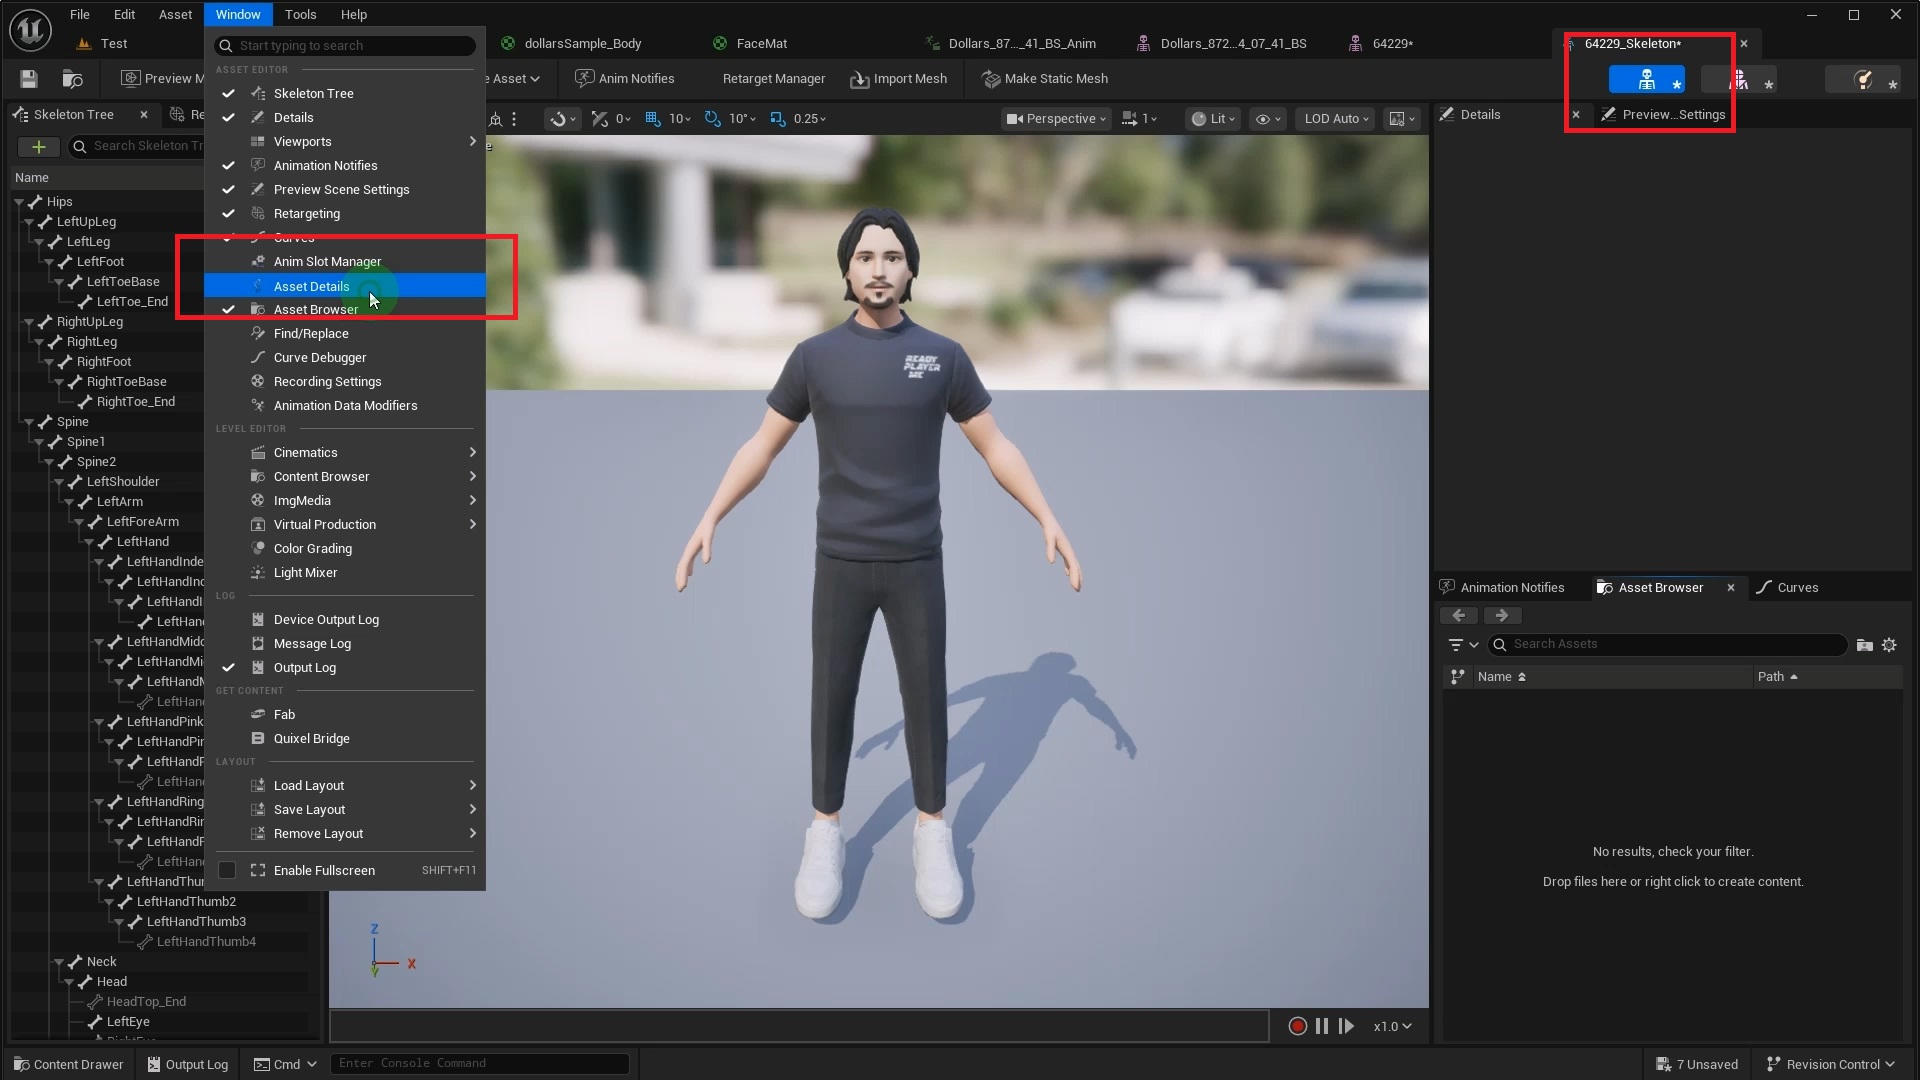
In the panel that appears, find the Compatible Skeletons section and add the skeleton used by the Dollars facial animation.
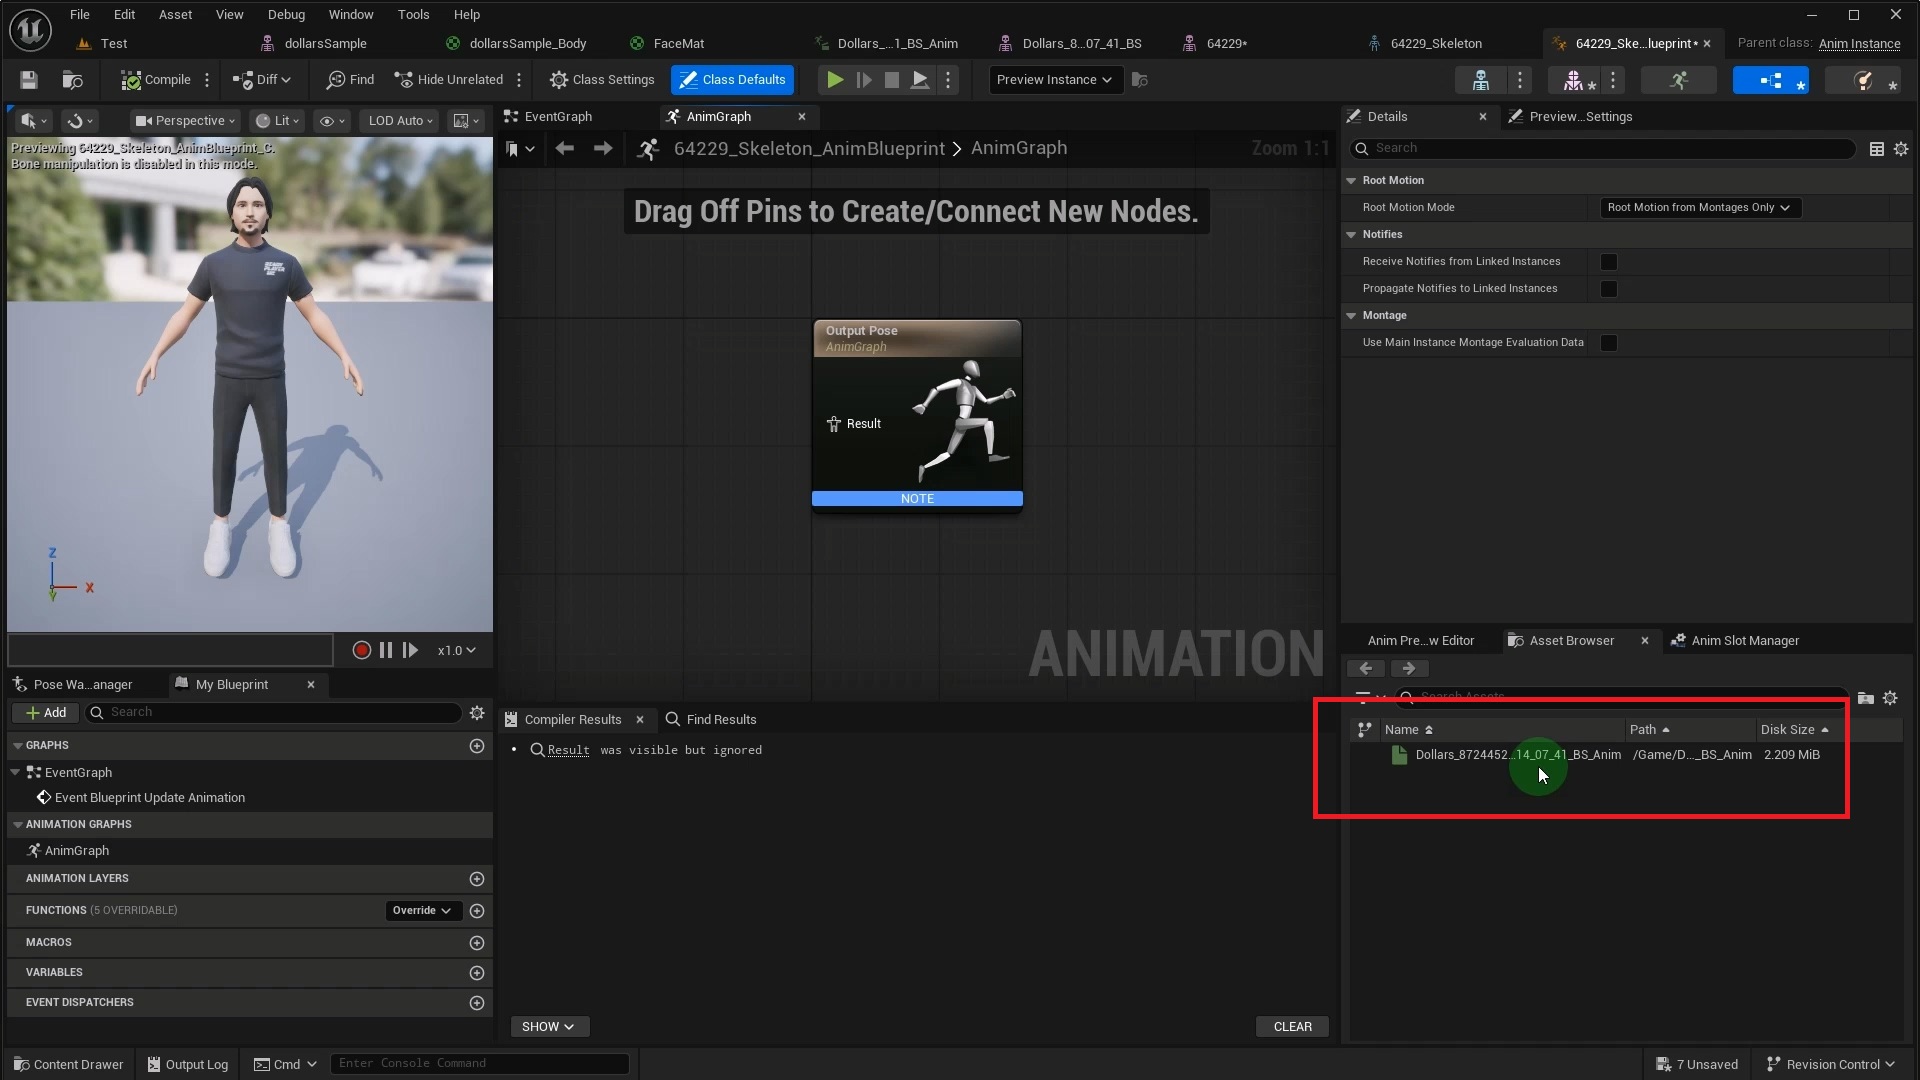
Once done, create an Animation Blueprint for the target model. You should now see the Dollars exported animation in the asset browser.
After connecting this animation to the output node, you may notice the model suddenly changes size or orientation.
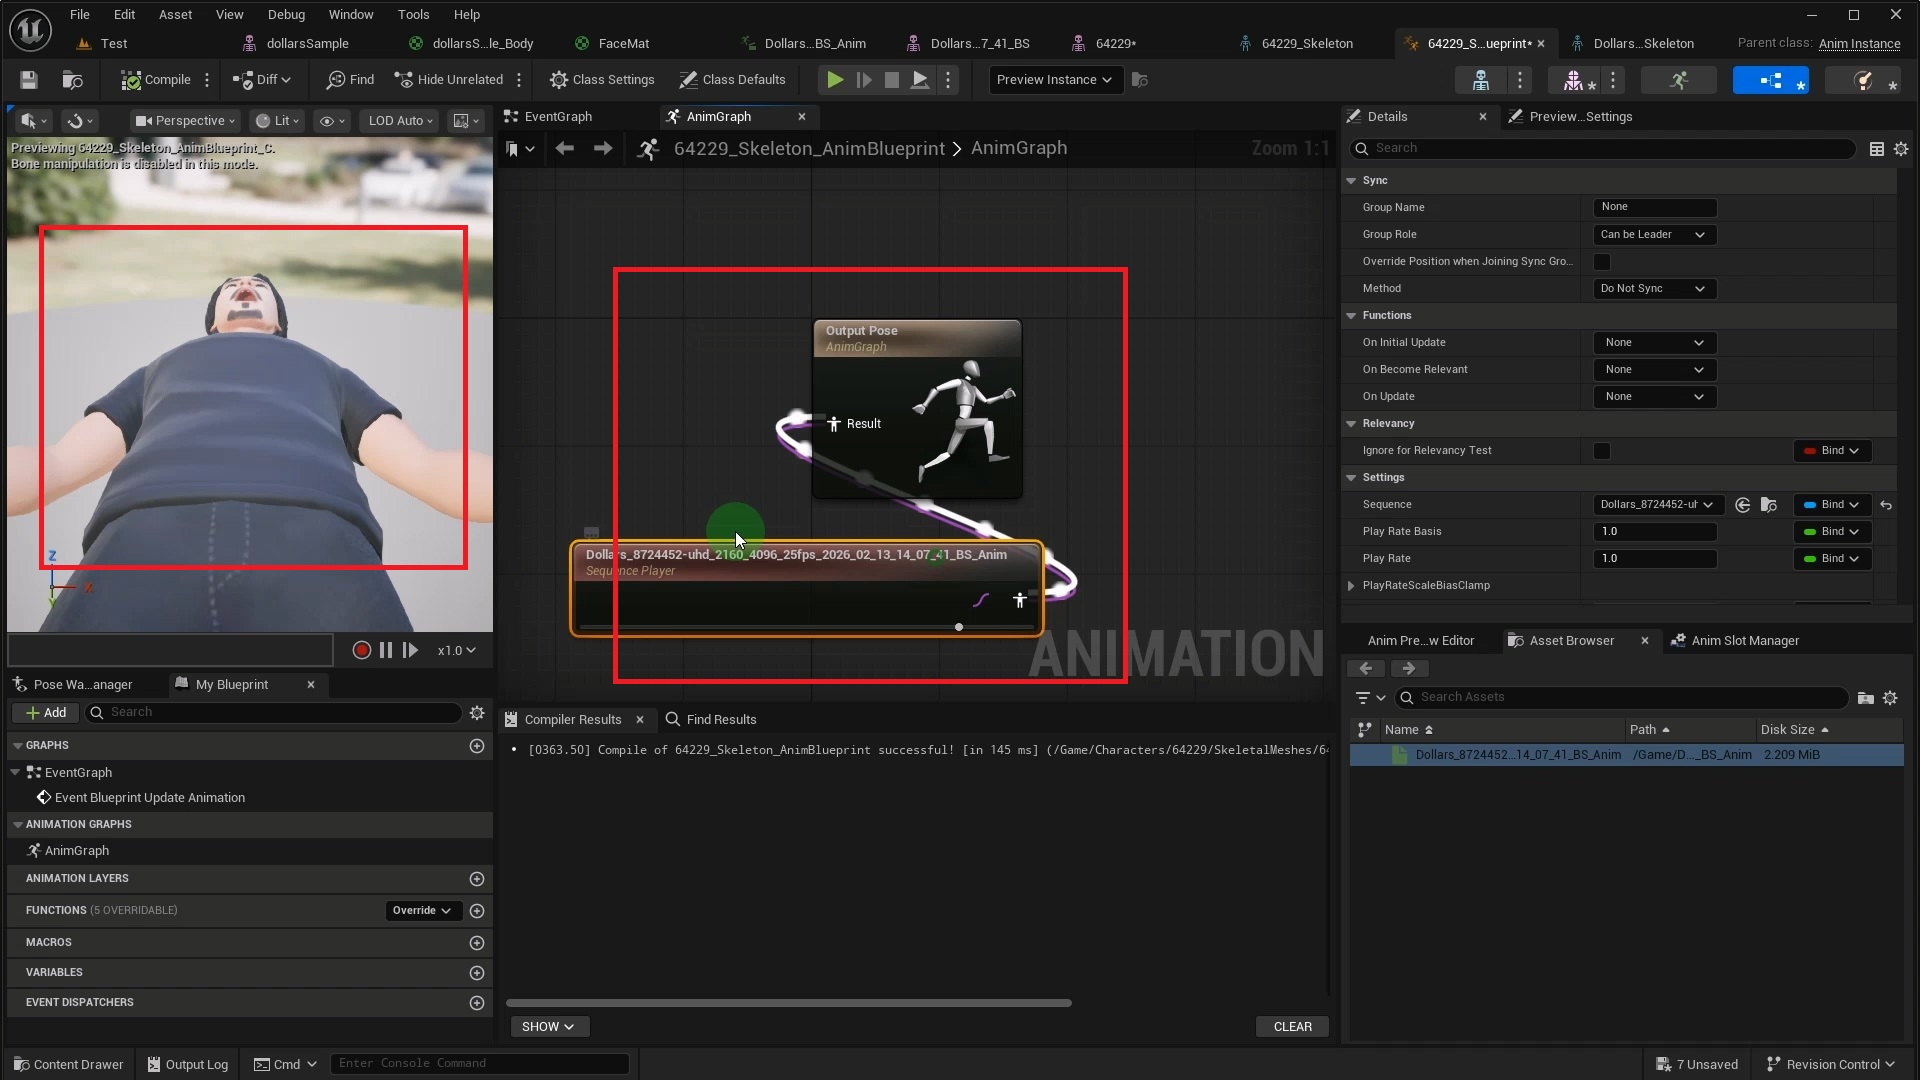
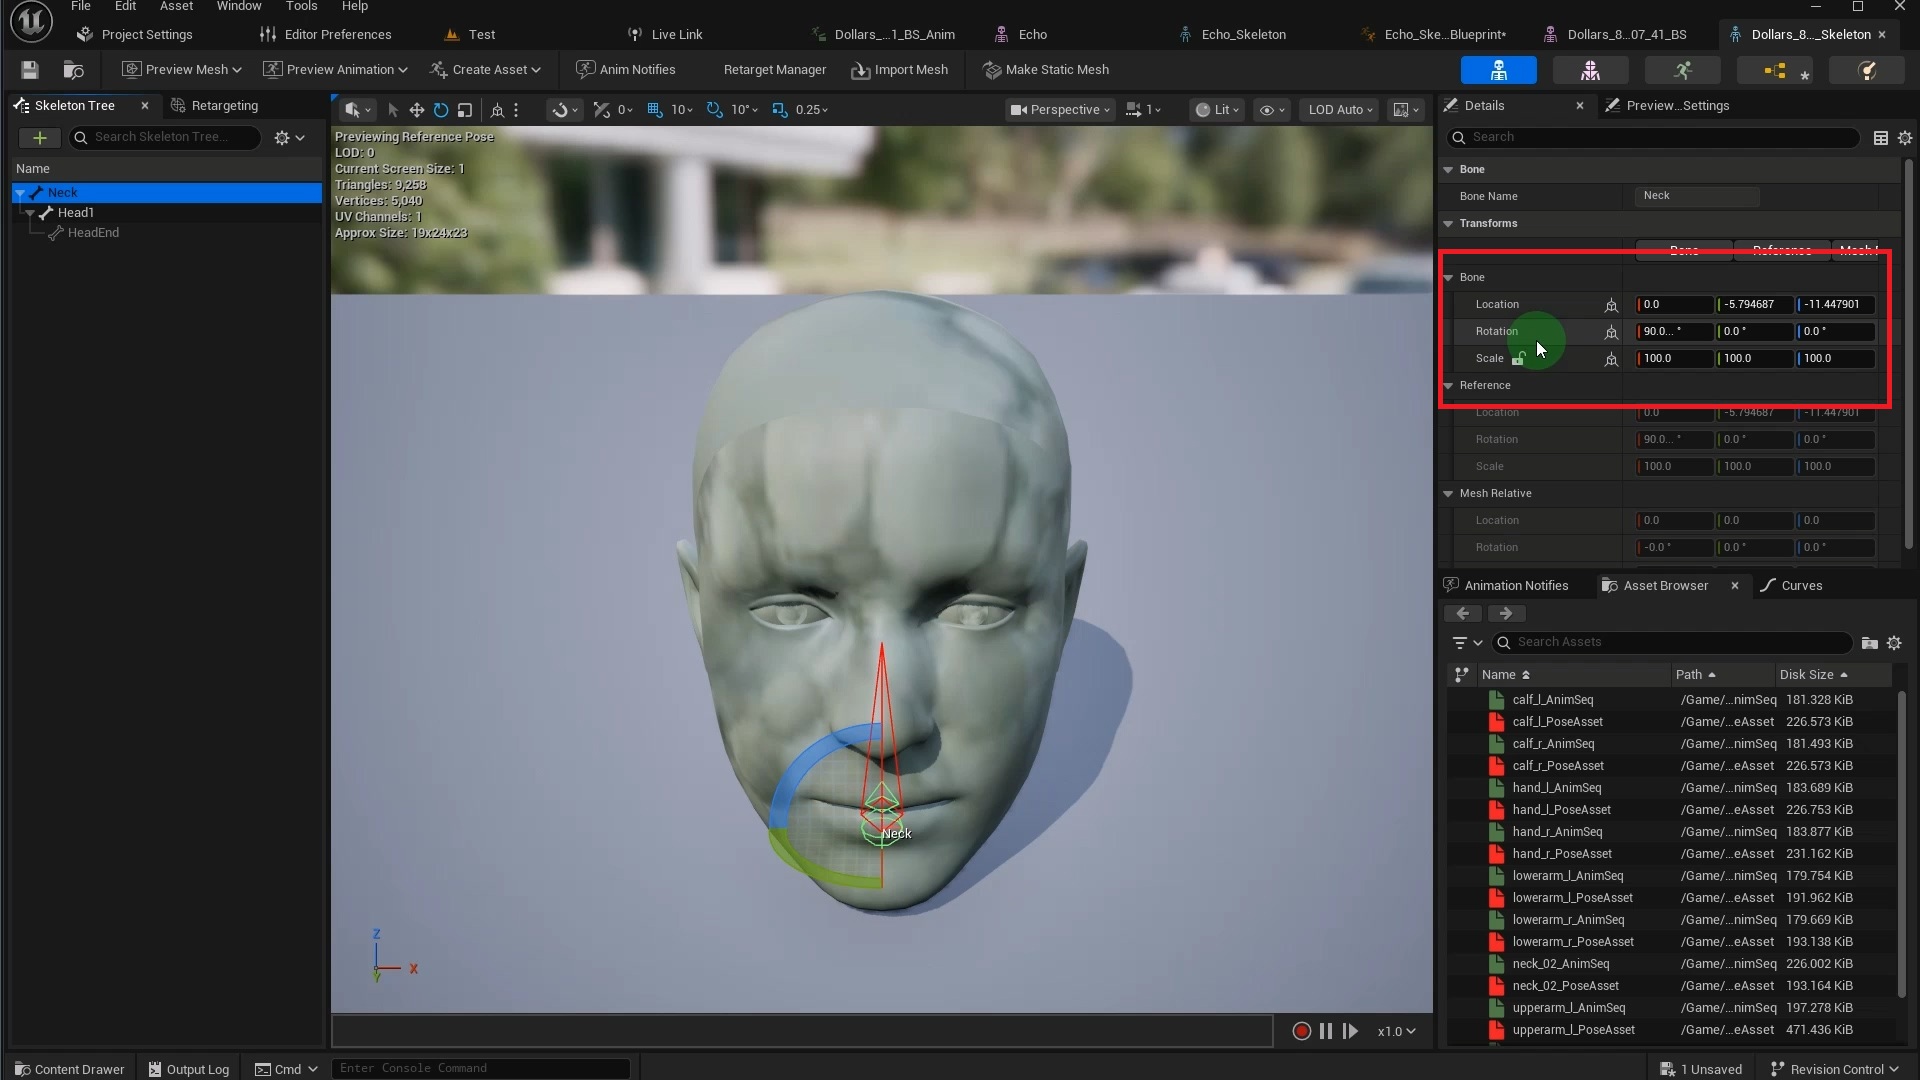
This happens because the Dollars facial animation's Root bone carries rotation data and a non-unit Scale. When the animation plays, these values are applied to the final bone pose, causing the model to deform.
The solution is to use a Layered Blend per Bone node in the Animation Blueprint. Set the facial animation as the Base Pose input and leave Blend Poses 0 empty. In the node's Layer Setup under Branch Filters, add the target model's root bone. For this Ready Player Me model, the root bone is named Hips.
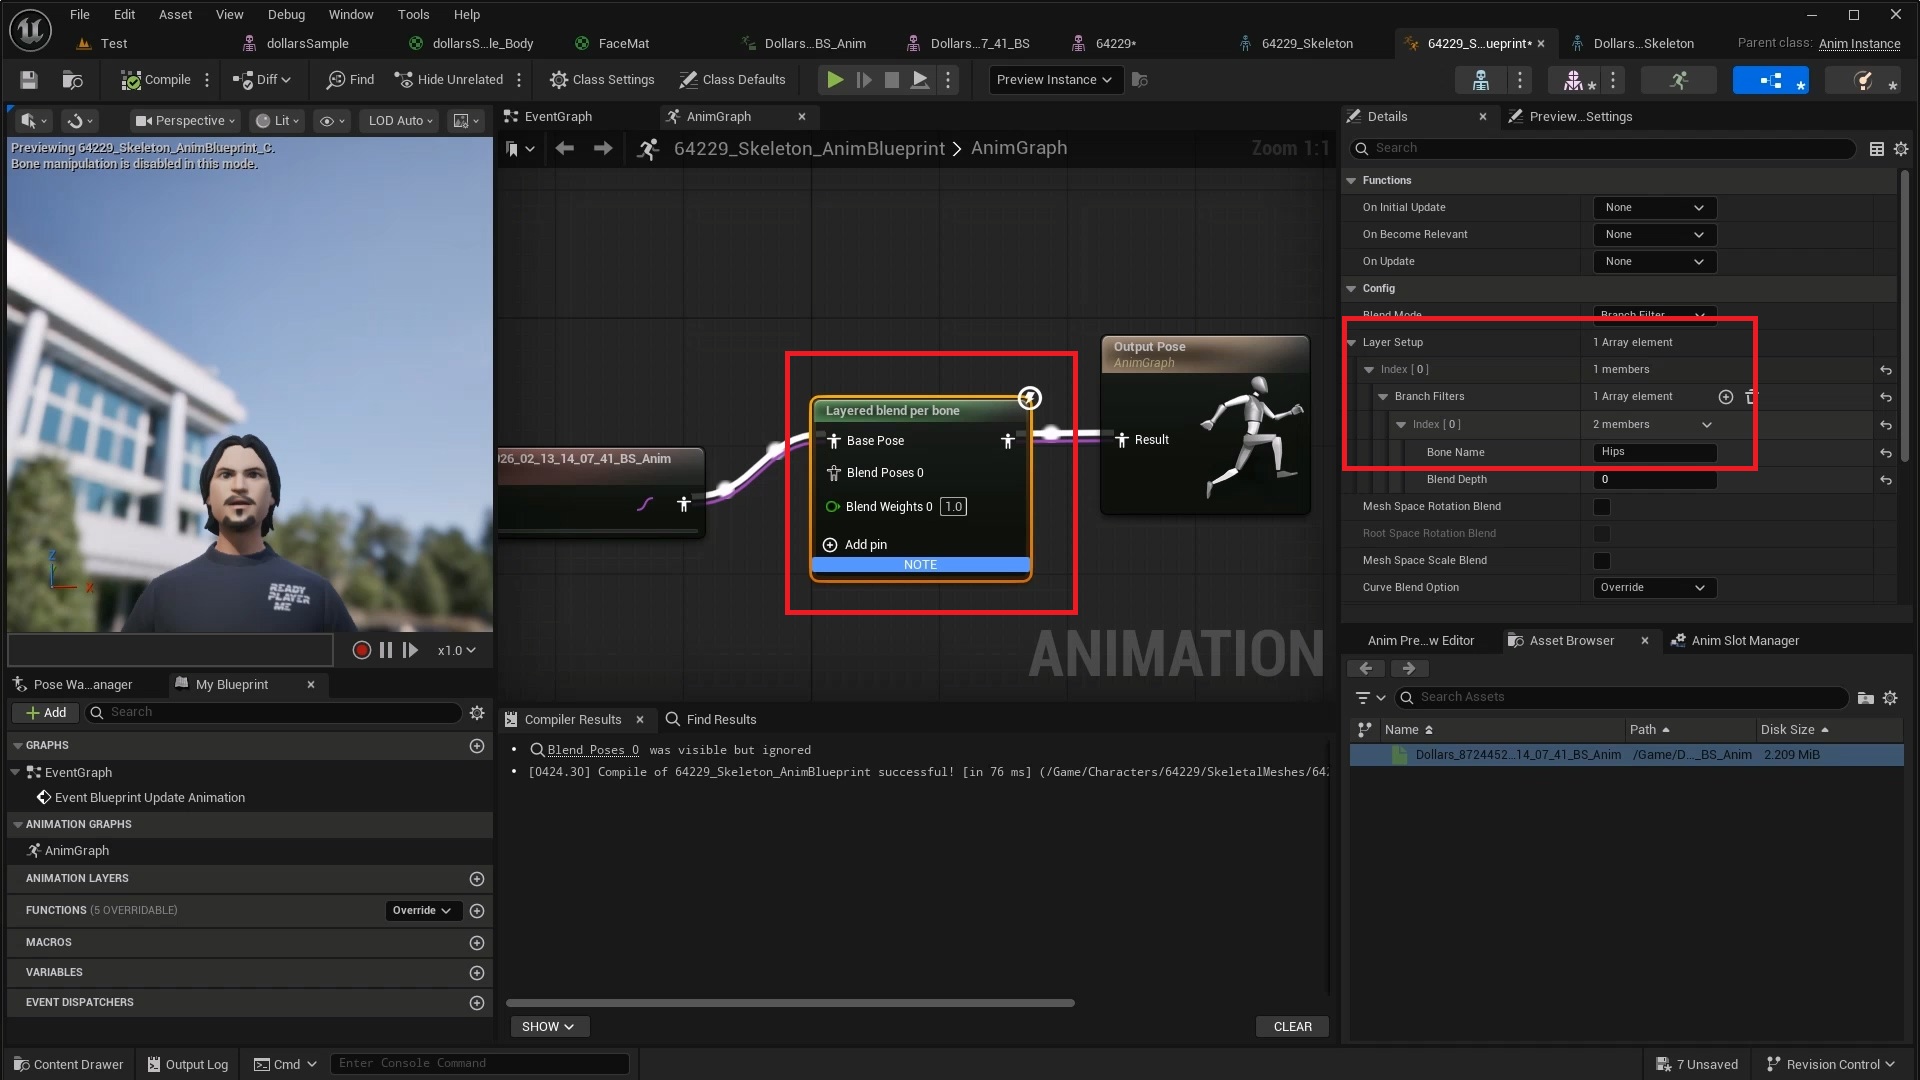
For Hips and its child bones, this node uses the Blend Poses 0 input. Since that is left empty, the model maintains its original bone pose. For Curves and other channels, it uses the Base Pose input, which is the facial animation data. This way, bone position and scale remain unaffected while the facial Curve data is properly passed through.
2. No Matching Morph Targets, but with Pose Asset
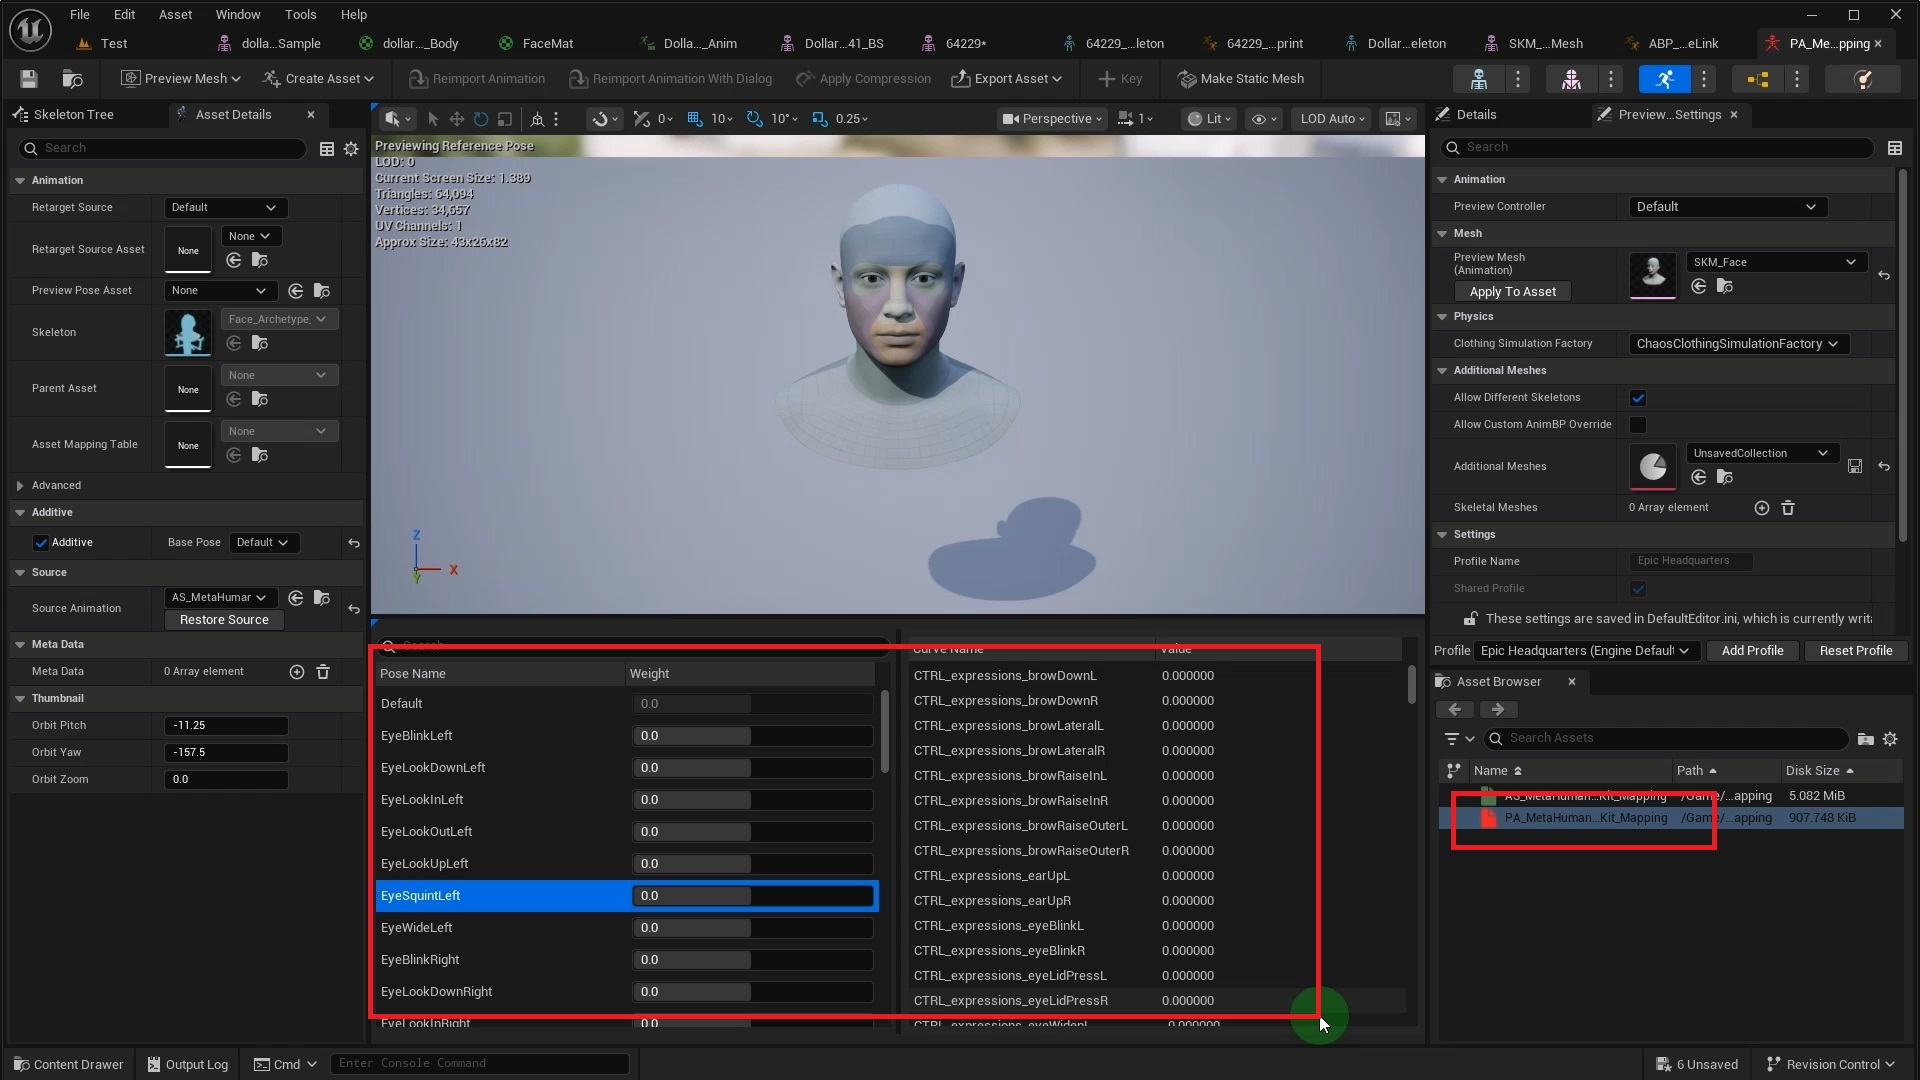
Some models don't have ARKit named Morph Targets, yet ship with a Pose Asset that bridges the gap. MetaHuman is a typical example. Its Pose Asset maps ARKit Curves to facial Poses.
As before, add the Dollars skeleton as a compatible skeleton in MetaHuman's Skeleton, then play the Dollars facial animation in MetaHuman's Animation Blueprint.
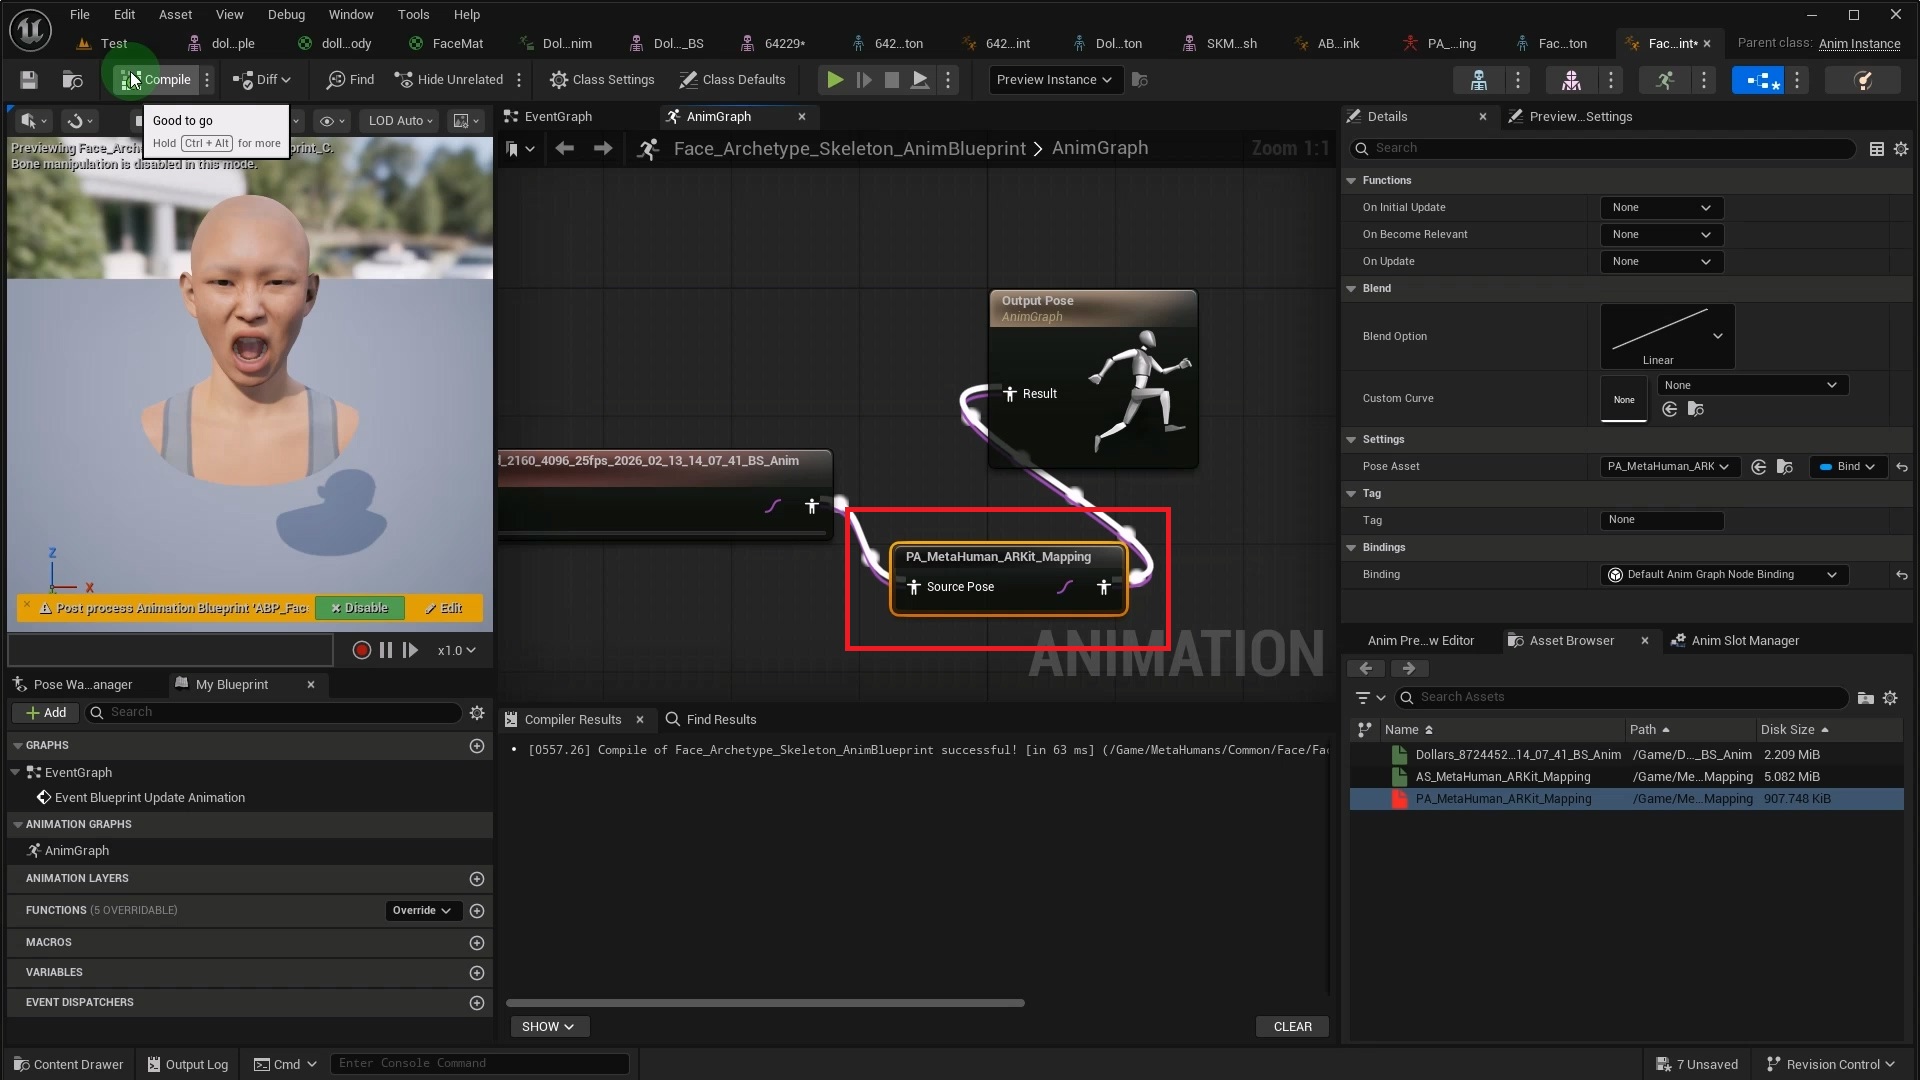
The difference is that you need to add an Evaluate Pose node after the animation node. In its Pose Asset property, select MetaHuman's built-in ARKit mapping asset PA_MetaHuman_ARKit_Mapping. This converts the input Morph Target curves into MetaHuman's facial Poses.
3. No Matching Morph Targets, No Pose Asset
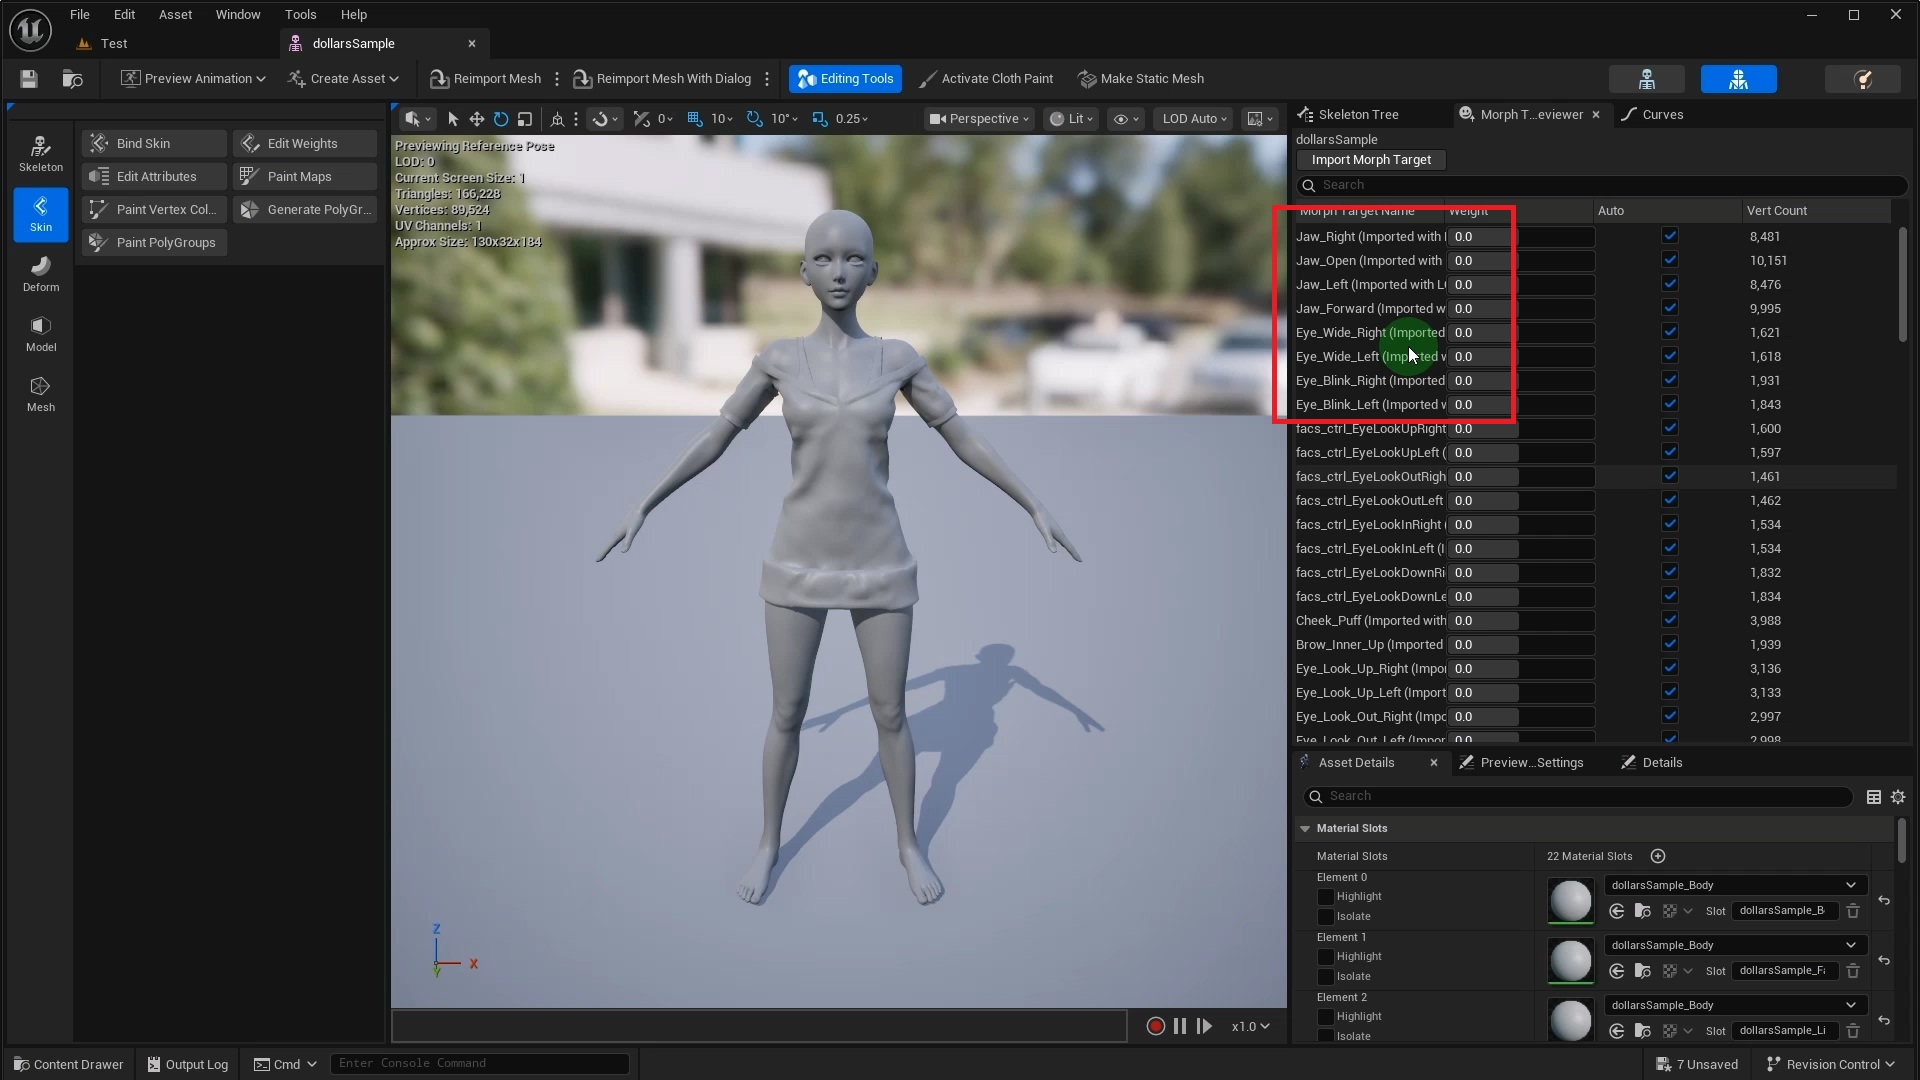
When the target model has neither matching names nor a Pose Asset, you need to remap the curves yourself. This Daz model, for example, uses Jaw_Open instead of jawOpen, and Eye_Blink_Left instead of eyeBlinkLeft.
We have prepared an open-source tool for this scenario.
https://github.com/SunnyViewTech/UE-MorphTarget-Retargeting-Tools
This is a Python script that renames the Morph Target curves in the source animation according to a mapping file, producing a new animation sequence that can be directly used on the target model.
After opening the script, configure the following key parameters.
SOURCE_ANIM_PATH  = "/Game/Capture.Capture"
MAPPING_FILE_PATH = "C:/arkit_mapping.txt"
TARGET_MESH_PATH  = "/Game/MyHead.MyHead"
SOURCE_ANIM_PATH is the asset path of the source animation sequence. You can get it by right-clicking the animation sequence in the Content Browser and selecting Copy Object Path.
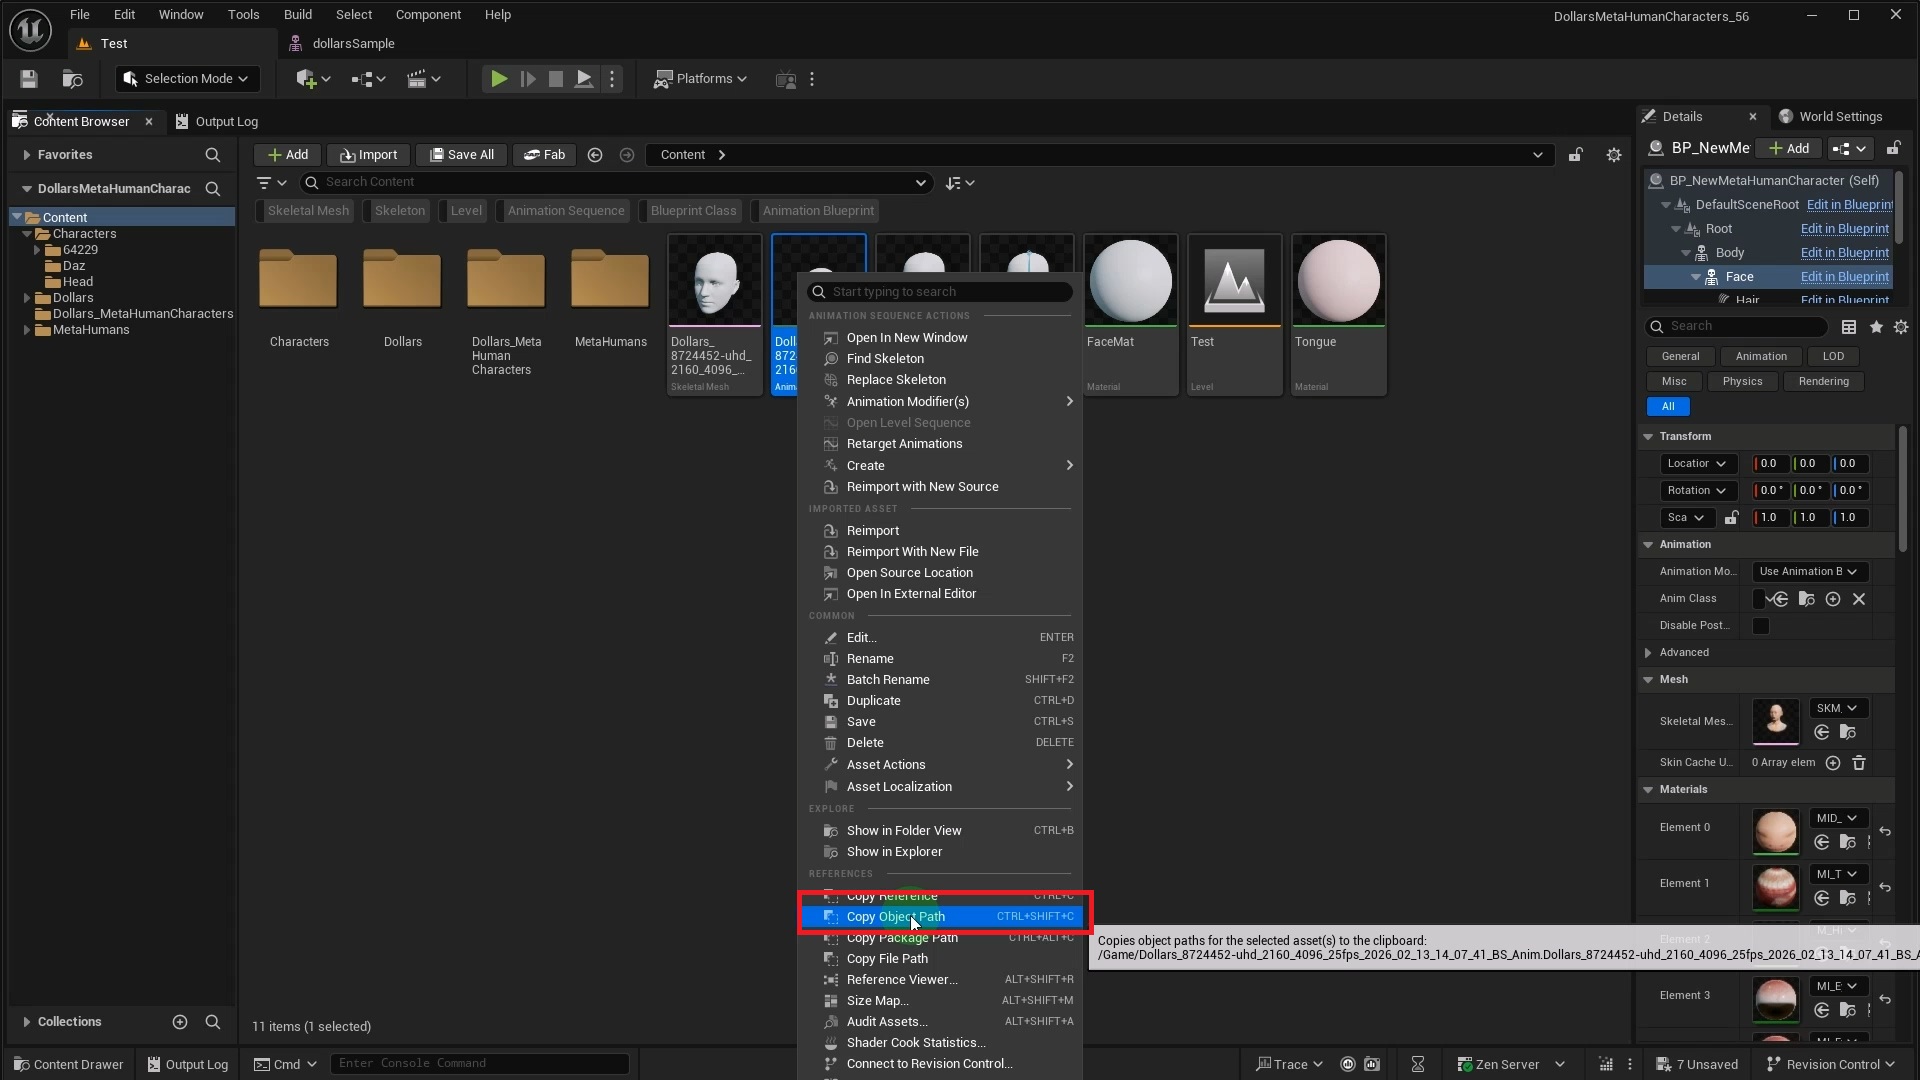
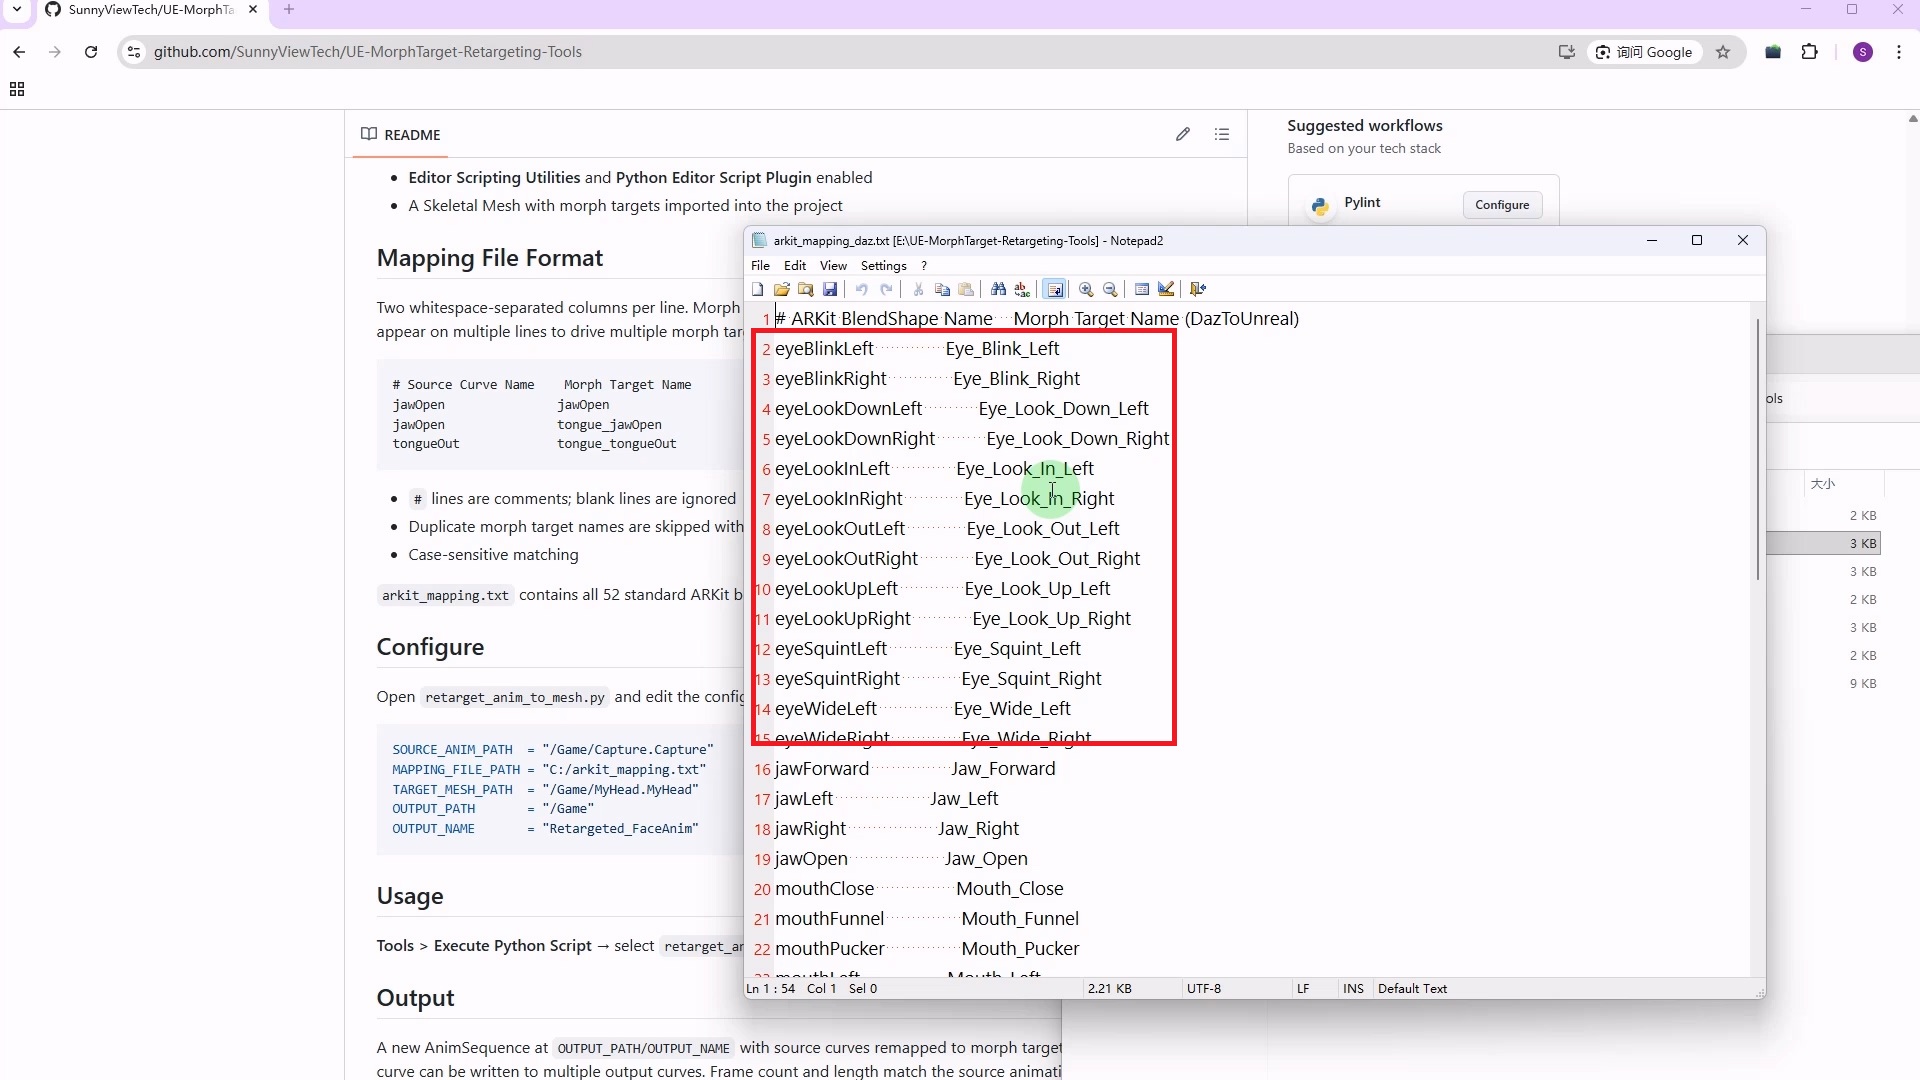
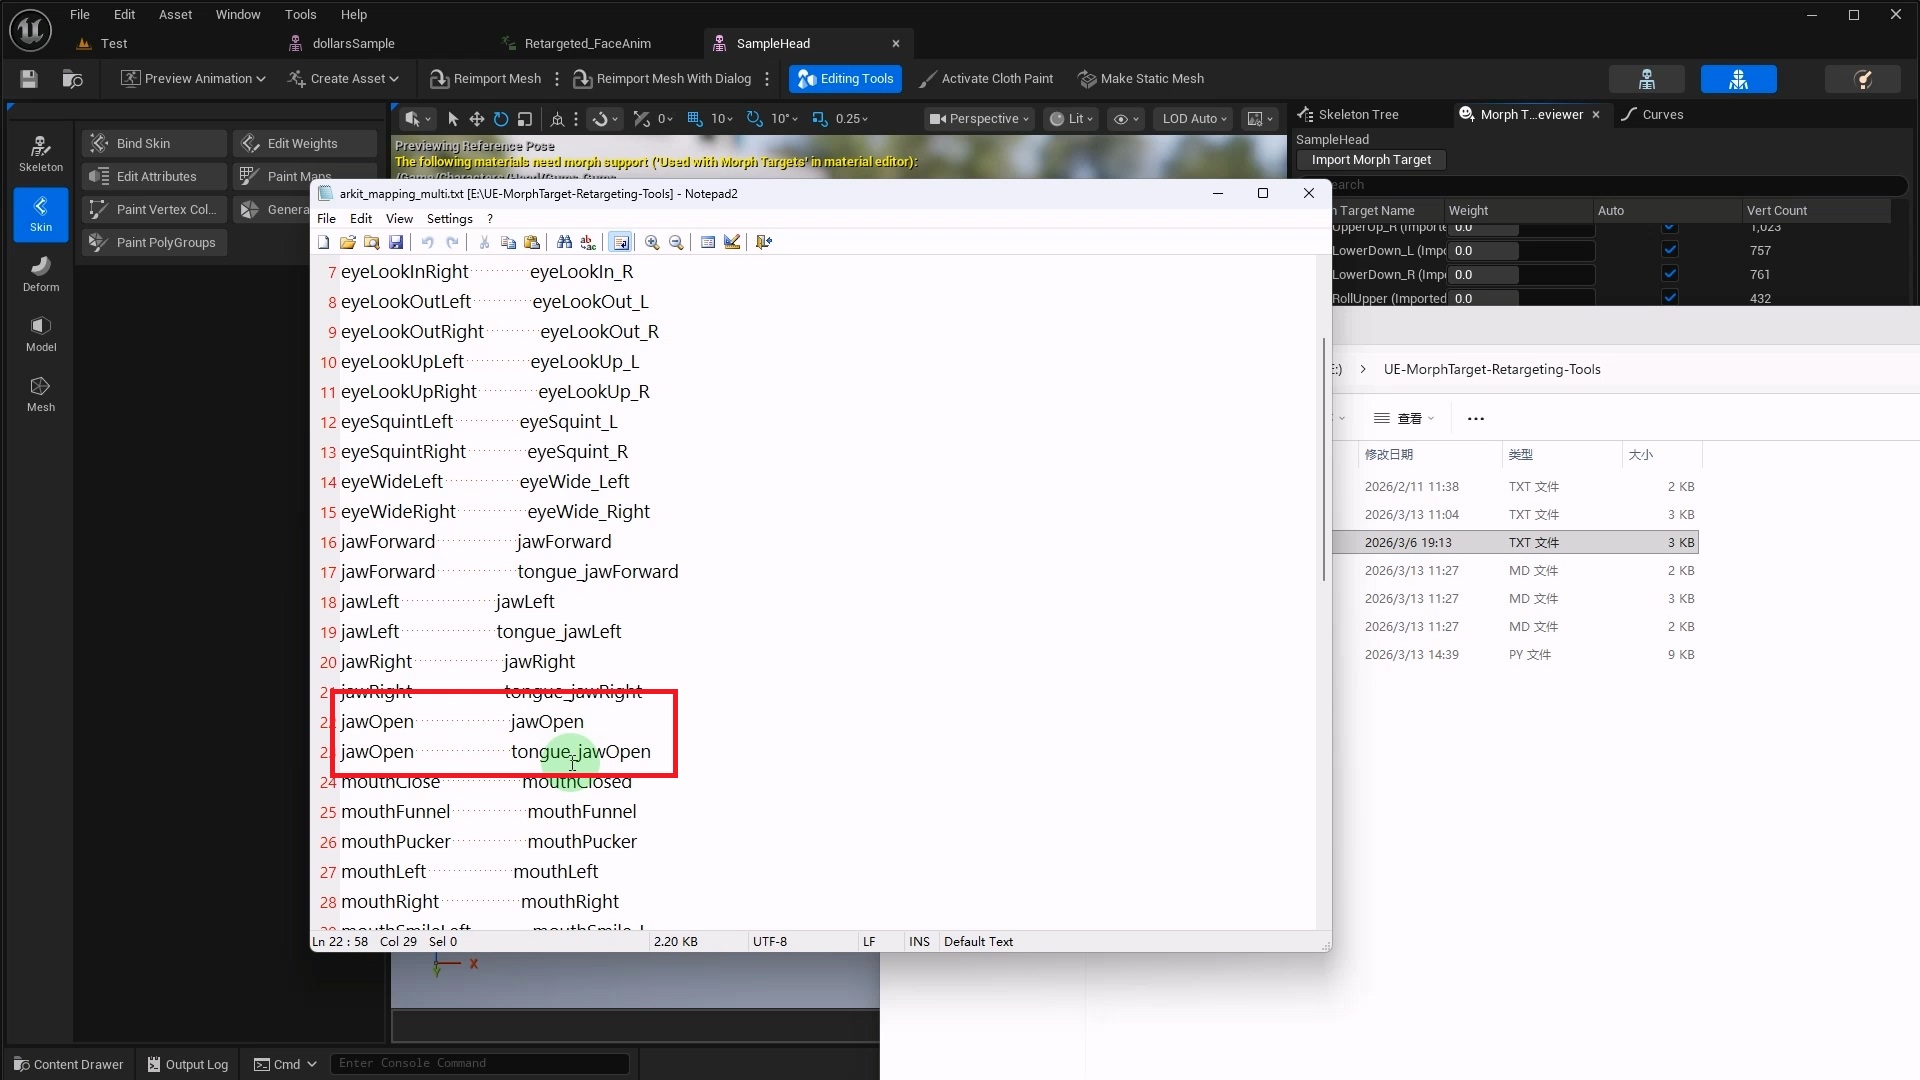
MAPPING_FILE_PATH is the local path to the Morph Target mapping file. The mapping file is plain text, with two columns per line. The left column is the ARKit name from the source animation, and the right column is the corresponding Morph Target name in the target model.
TARGET_MESH_PATH is the asset path of the target model, also obtained via right-click Copy Object Path.
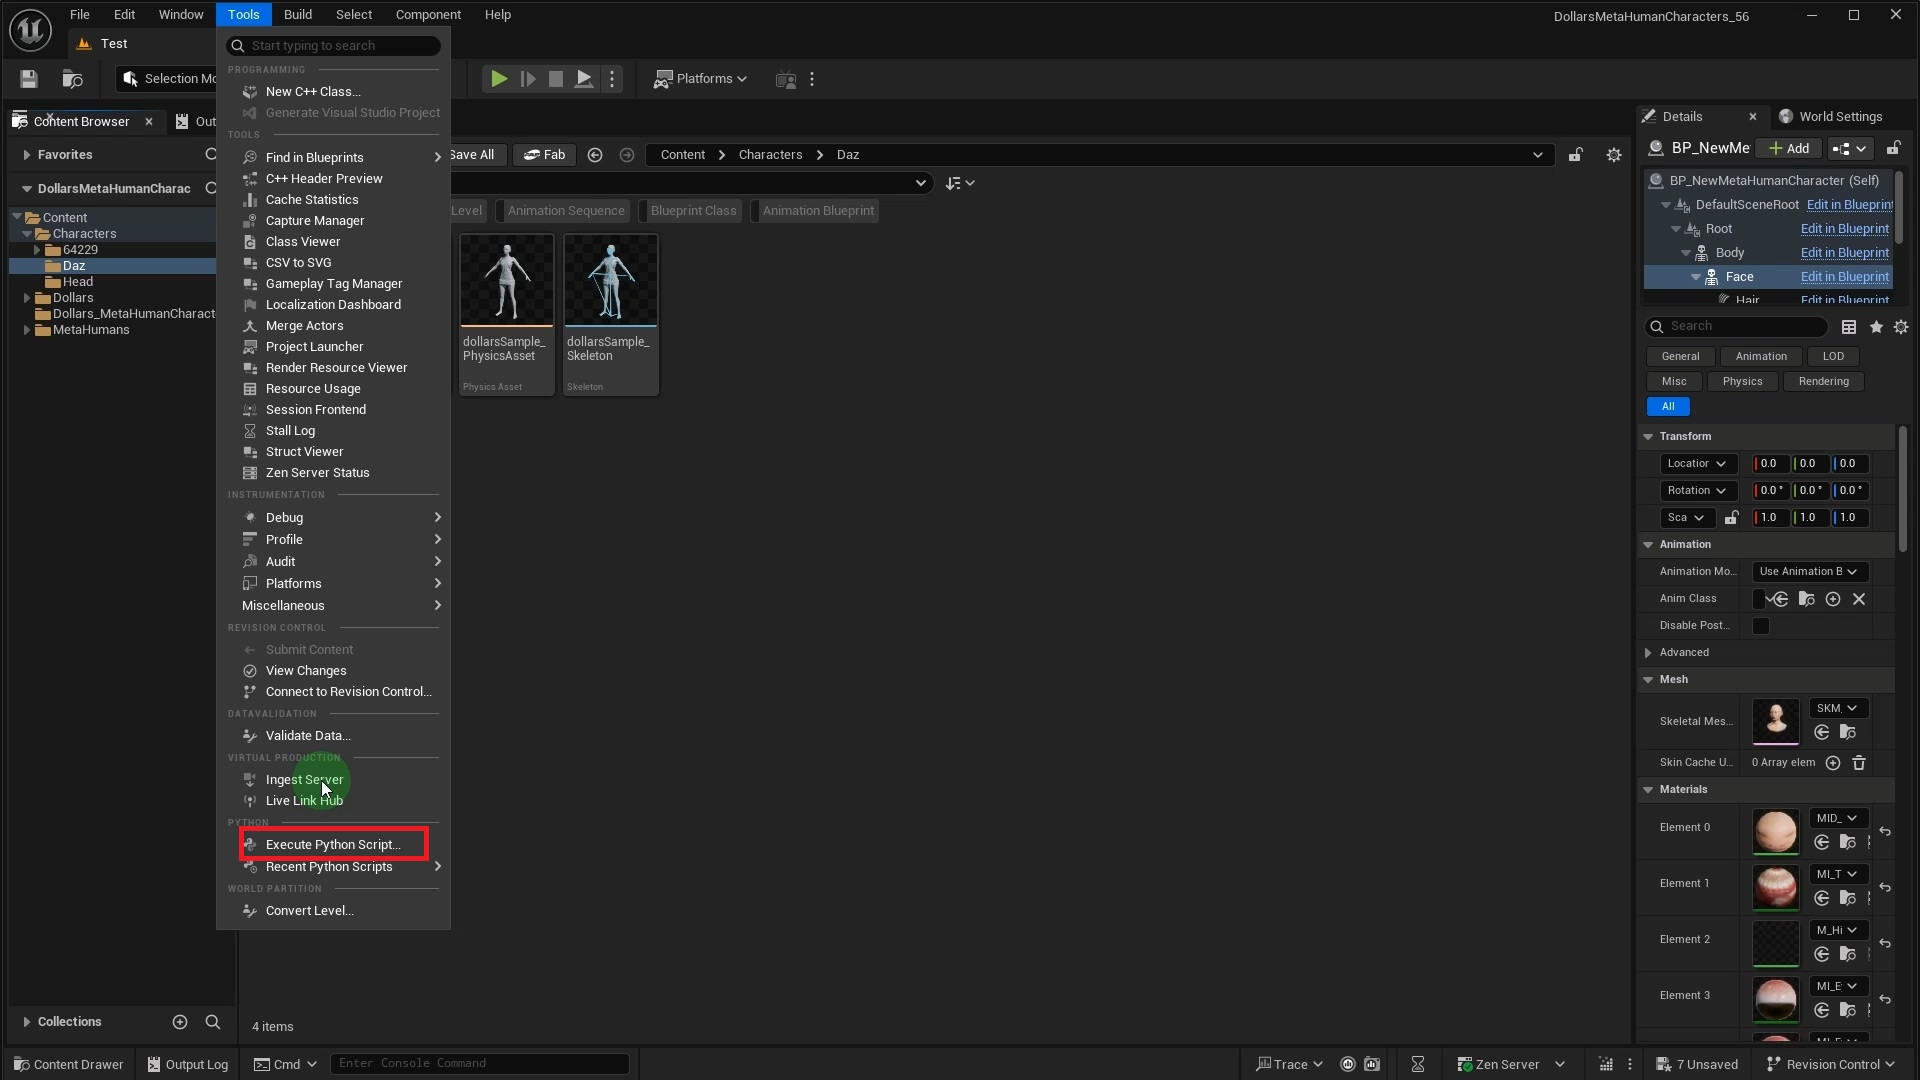
Once all parameters are set, go to the Tools menu in the Unreal Editor and select Execute Python Script, then choose the script to run.
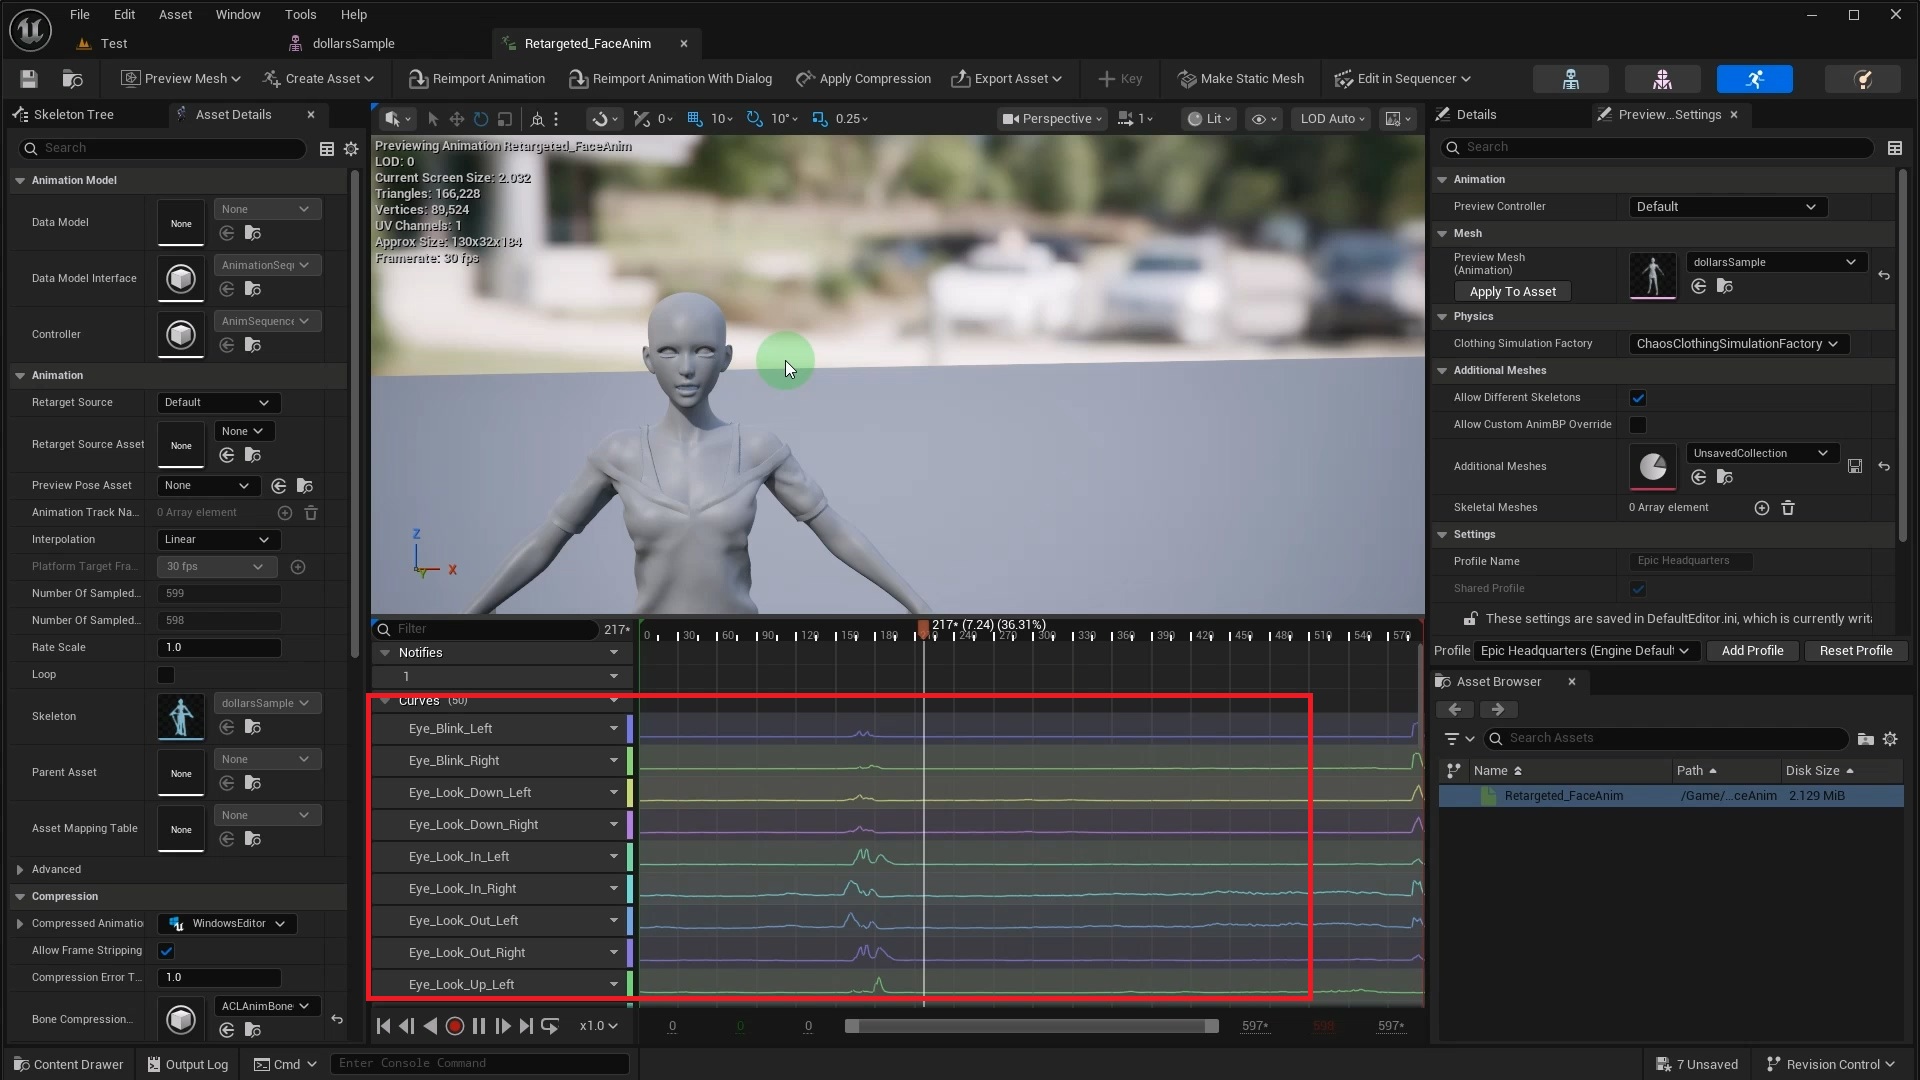
After execution, a new animation sequence asset is generated in the specified directory. Opening it reveals that the Curve names have been converted to the target model's naming convention according to the mapping file, ready for direct playback on the target model.
One to Many Mapping
Sometimes a single source Morph Target needs to drive multiple targets. For example, jawOpen in the source might need to drive both jawOpen and tongue_jawOpen on the target model.
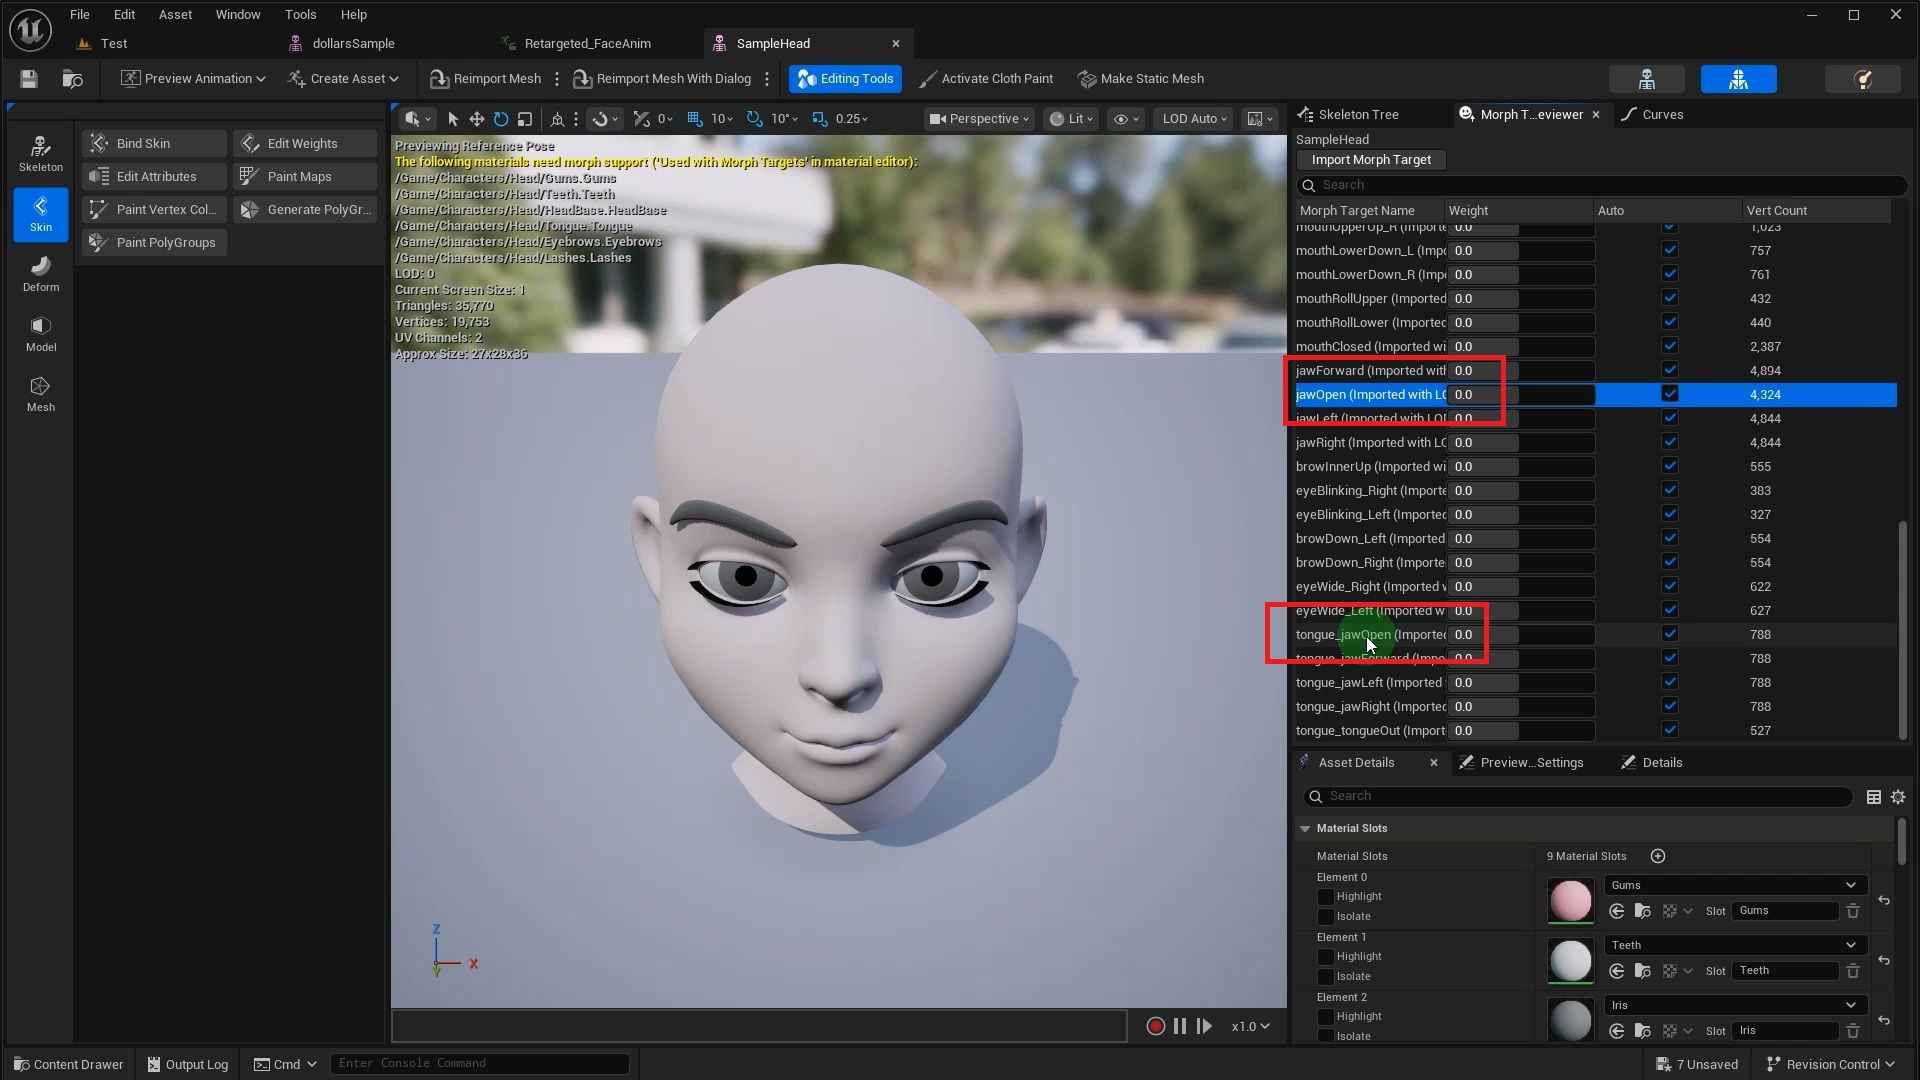
Simply add multiple lines for the same source name in the mapping file. The tool automatically detects duplicates and copies the same Curve data to all corresponding target channels.
If your model doesn't fit any of the scenarios above, or you run into issues along the way, feel free to reach out. You can also open an issue on the GitHub repository or visit the Dollars MoCap documentation for more guides.